Vegetables deserve their own drying plan. The preparation and endpoint for a carrot slice are not interchangeable with those for a leafy herb or a fruit leather. Begin with a researched table for the specific vegetable and work through the whole process before preparing a large harvest. The practical challenge is often organizing washing, cutting, pretreatment and tray loading as one manageable sequence.
Pick an ingredient you will actually cook with
Start with a vegetable that fits meals you already make. A soup ingredient, a sauce addition and a snack have different kitchen roles, even when the preservation method is the same. Write down a likely recipe and a sensible portion before deciding how much fresh produce to prepare. This keeps storage from becoming a collection of unlabeled experiments.
Montana State University Extension publishes a vegetable-specific drying table, including preparation, blanching and approximate drying information. Use the entry for your actual vegetable. Do not take a time from a different vegetable because the pieces happen to look similar. A published time range is still a planning aid within a method, not proof that any load is finished.
Source: Montana State University Extension: Drying Vegetables.
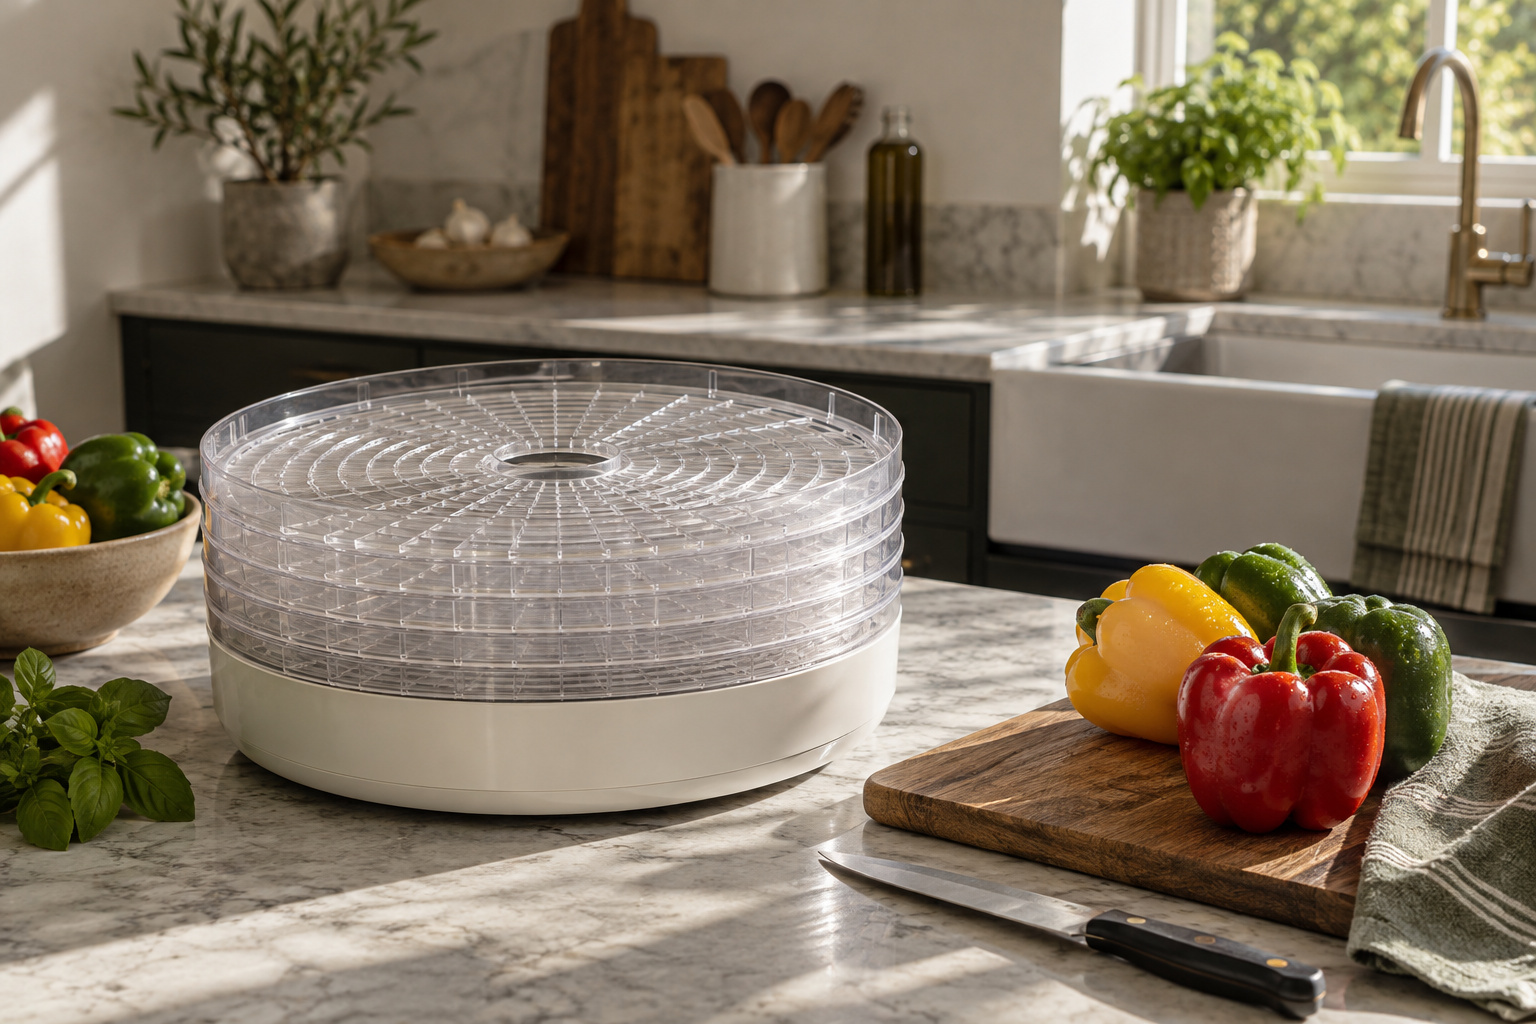
Organize a clean preparation sequence
Set up a washable preparation surface, a place for discarded material, the required utensils and empty trays. Wash and prepare the vegetable as the source directs. Limit the amount on the counter to what you can process through the next steps without an improvised delay. Preparing every item in a large harvest at once can create more work than your machine can accept.
Think through the path from sink to cutting board to pretreatment vessel to tray. A crowded kitchen is easier to manage when these operations have distinct places. Read our cleaning guide before the session so the trays and tools are ready. This organization is an editorial workflow suggestion, not a substitute for the food-specific instructions.
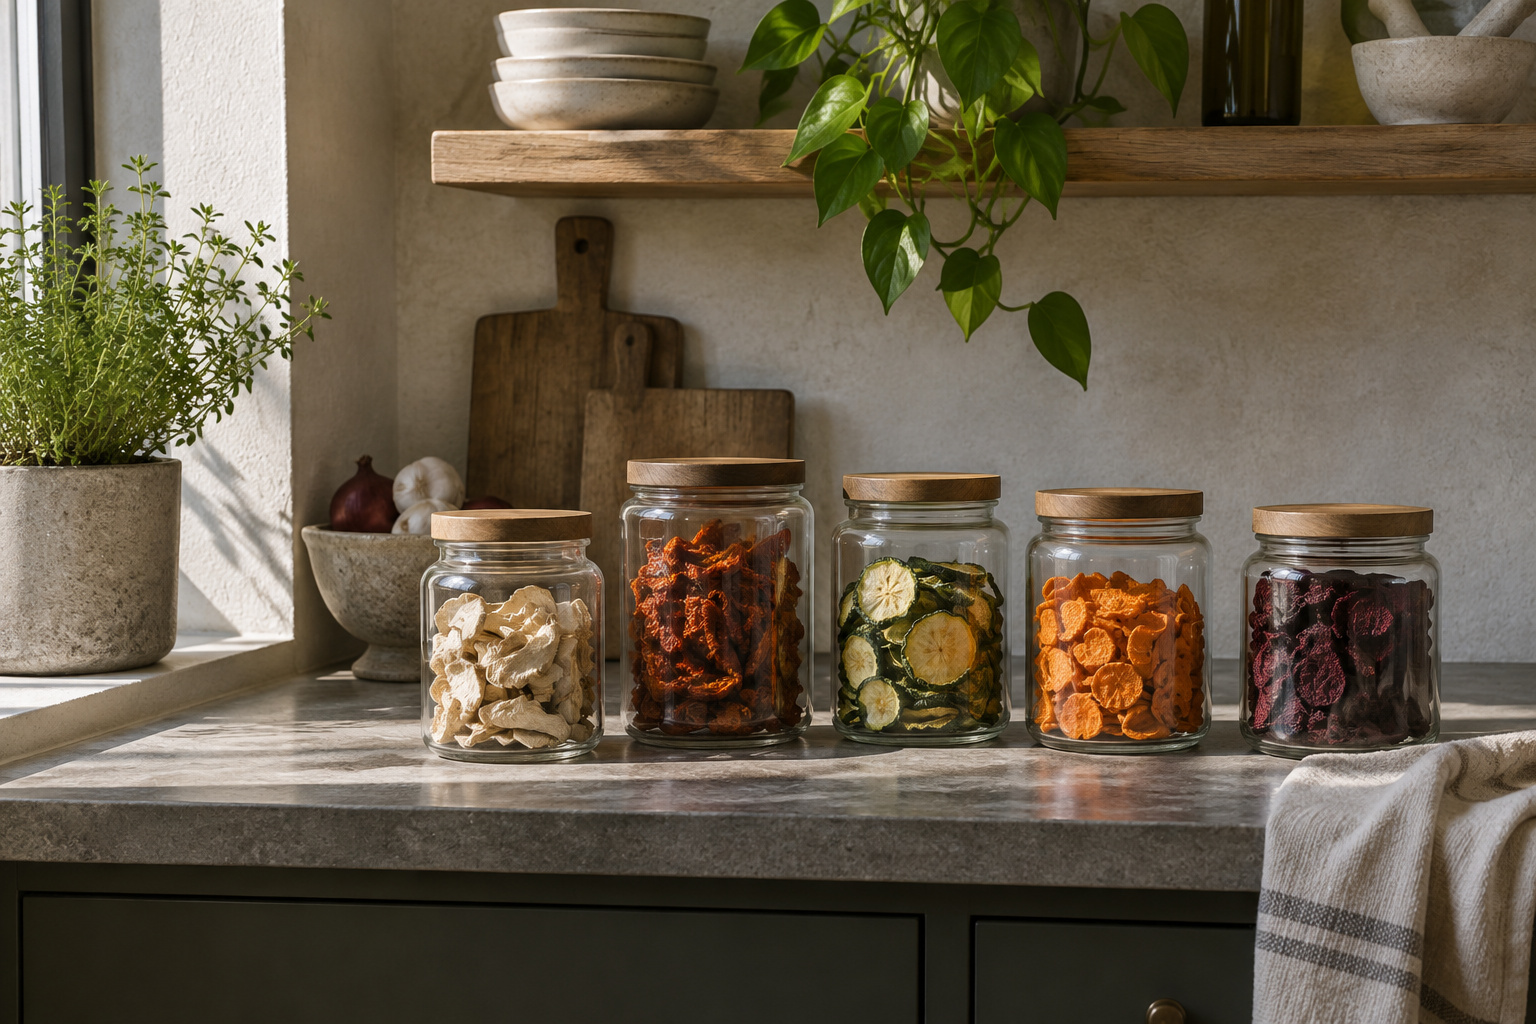
Treat blanching as a specific instruction
Some vegetables require blanching before drying; others have different preparation instructions. Montana State’s guide distinguishes steam and water methods and supplies food-specific times. Use the listed method and its timing rules. Do not assume that a freezing chart, a microwave shortcut or a few minutes in hot water is equivalent to the drying process you selected.
Have the next tray ready before beginning this step. The transition from pretreatment to loading is easier when the utensils and draining space are already available. Keep a printed or saved copy of the relevant entry nearby so you can confirm the sequence without guessing. If the method is unclear for the vegetable or cut you have, resolve that question with extension guidance first.
Source: Montana State University Extension: Drying Vegetables.
Check the tray surface and batch size
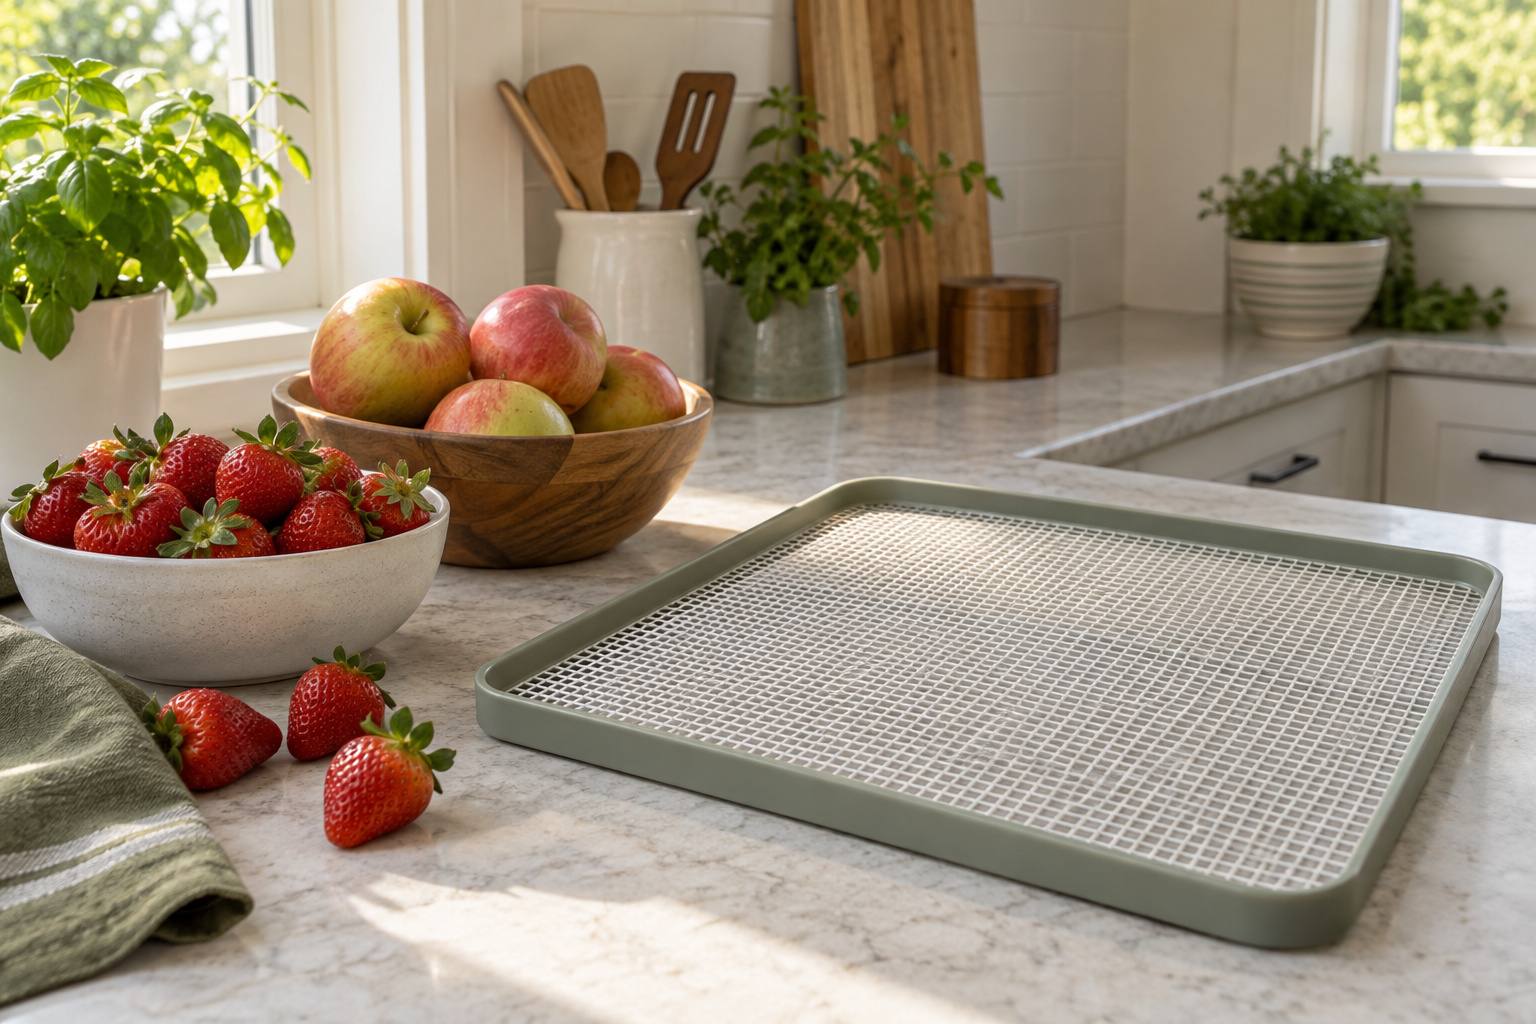
Small pieces need support that remains suitable as they dry. Confirm whether the appliance maker permits a mesh insert and whether it fits the exact tray. A solid sheet intended for puree is not automatically the right support for every vegetable. Whatever surface you choose must preserve the airflow arrangement described in the appliance instructions.
Lay out one prepared tray before committing to the entire batch. It gives you a useful sense of the space needed and the practical loading routine. Our tray and liner guide covers fit questions, while the planning tool helps with measured layout area. Neither can authorize extra tray levels or establish an allowed food weight for a model.
Use the vegetable endpoint, then cool and pack
NCHFP describes dried vegetables as brittle or crisp and distinguishes them from fruit that undergoes conditioning. Follow the endpoint for your particular food and do not borrow a fruit’s soft texture as the target. Arrange your session so you can inspect progress and complete the steps that follow drying.
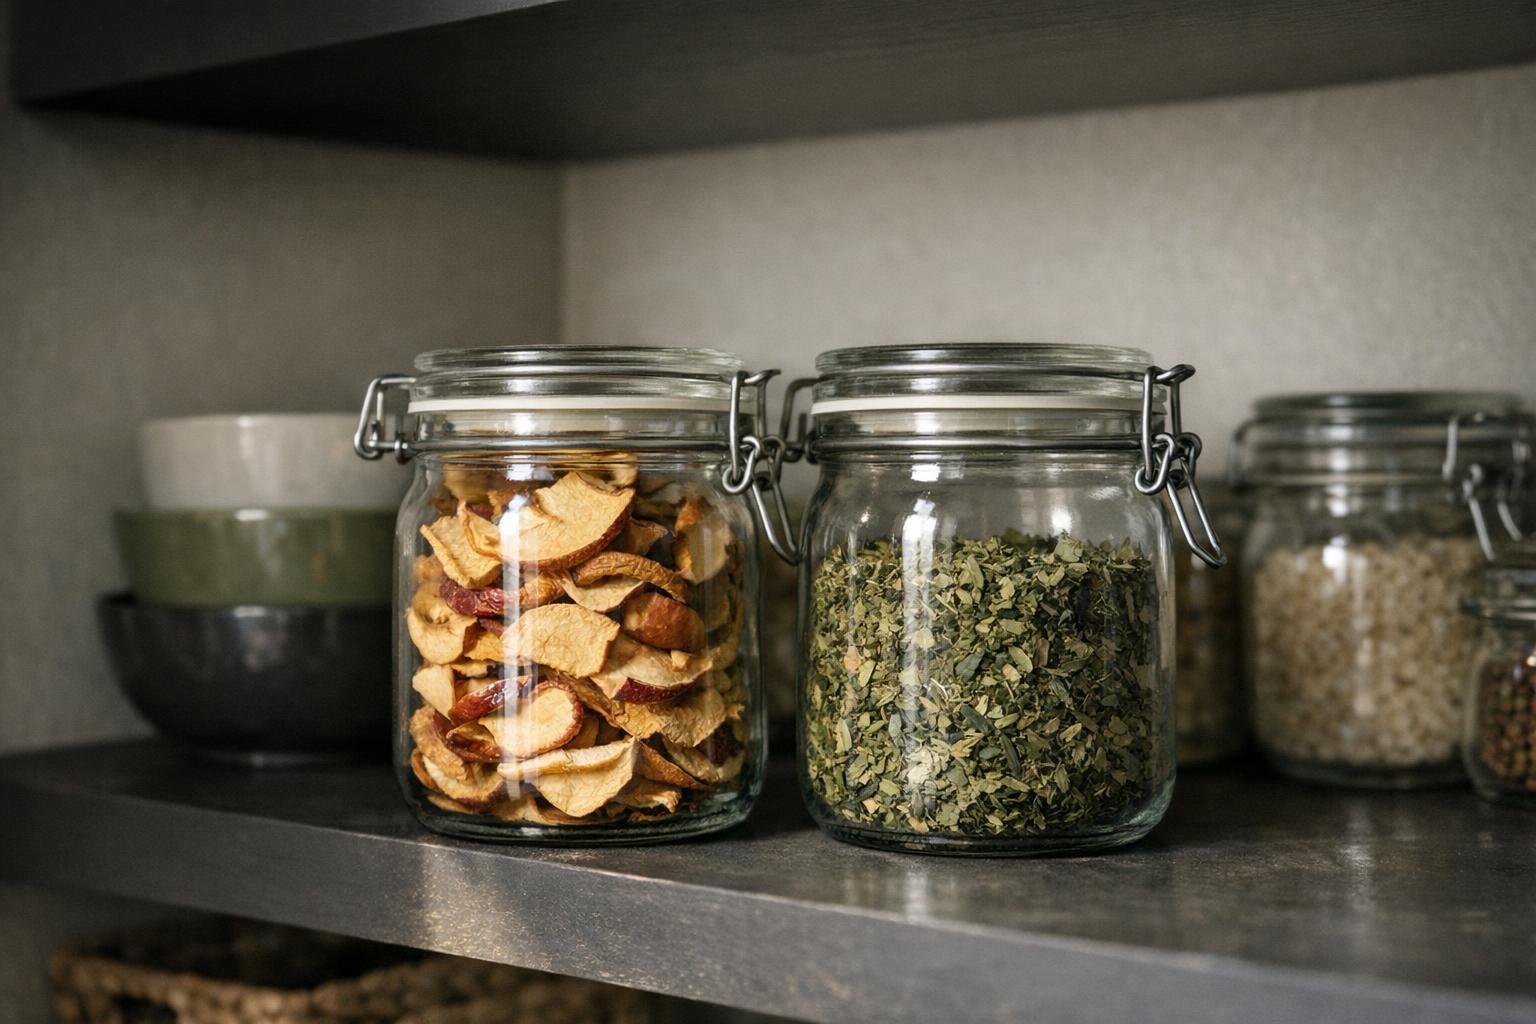
Plan containers and labels in advance, including the vegetable name and preparation date.
- Keep foods from different sessions separate until you have assessed them under the relevant method.
- Consult the dried-food storage guide for a practical batch system.
- A large jar is convenient only if its size suits the way you will use the food; repeatedly opening one oversized container can make the routine less manageable.
Plan rehydration as part of the meal
Dried vegetables are ingredients, not a promise of an instant finished meal. When deciding what to preserve, read the cooking or rehydration instructions you plan to use later. Keep those directions with the batch record so that another household member does not have to reconstruct the process from a jar label alone.
For a first trial, prepare enough for a few planned meals and evaluate whether you like the result in those meals. Note flavor, portion convenience and preparation effort as personal observations. Do not infer a storage guarantee or a nutritional advantage from a pleasant result. If the food shows signs of spoilage, do not use a soup or long cooking time as a strategy to rescue it.
For measured batch-space planning, use the tray layout estimator. Its result is a space estimate only, not a processing time or safety approval.
| Section | Key point |
|---|---|
| Pick an ingredient you will actually cook with | Use the entry for your actual vegetable. |
| Organize a clean preparation sequence | Wash and prepare the vegetable as the source directs. |
| Treat blanching as a specific instruction | Use the listed method and its timing rules. |
| Check the tray surface and batch size | Small pieces need support that remains suitable as they dry. |
| Use the vegetable endpoint, then cool and pack | Consult the dried-food storage guide for a practical batch system. |
| Plan rehydration as part of the meal | For measured batch-space planning, use the tray layout estimator. |