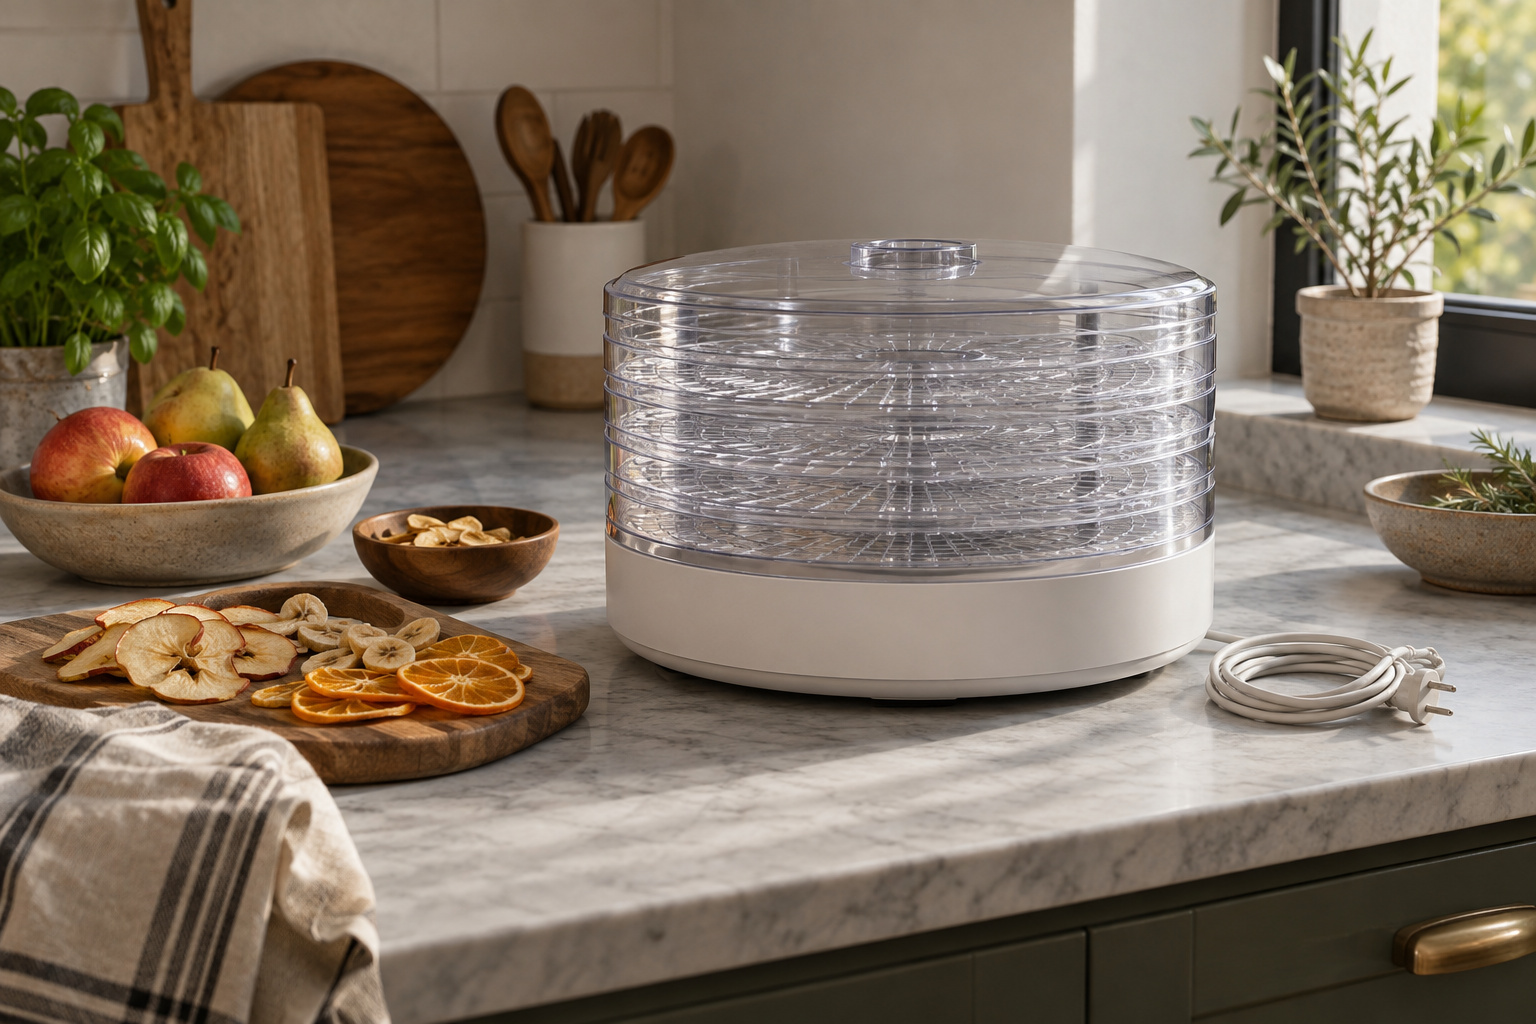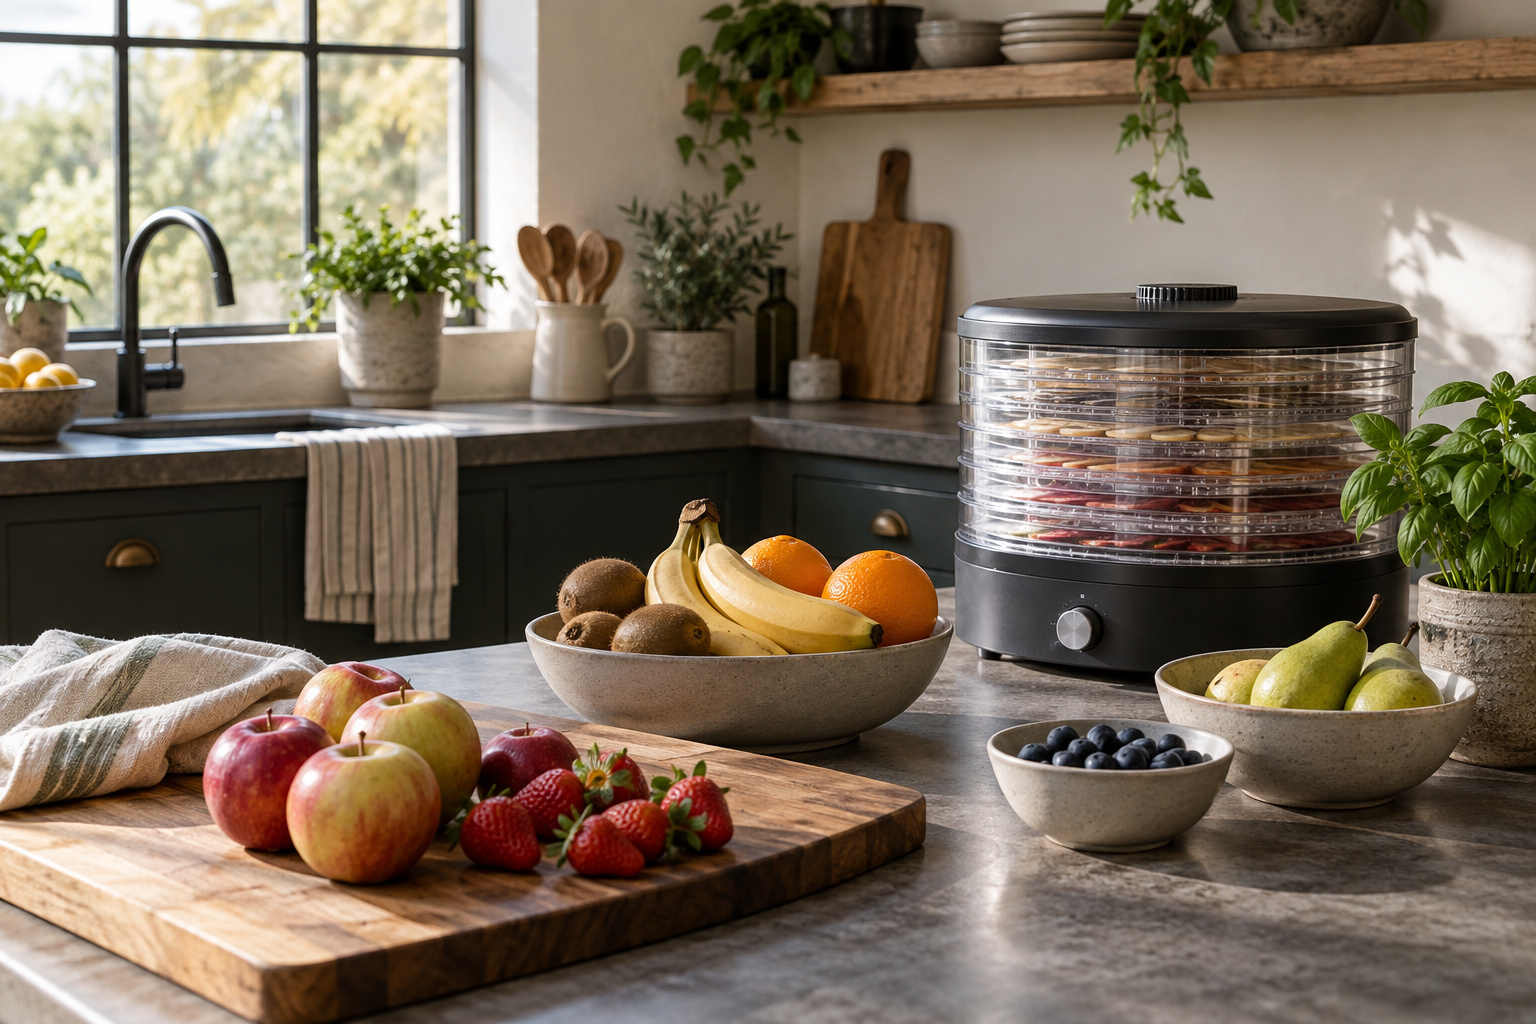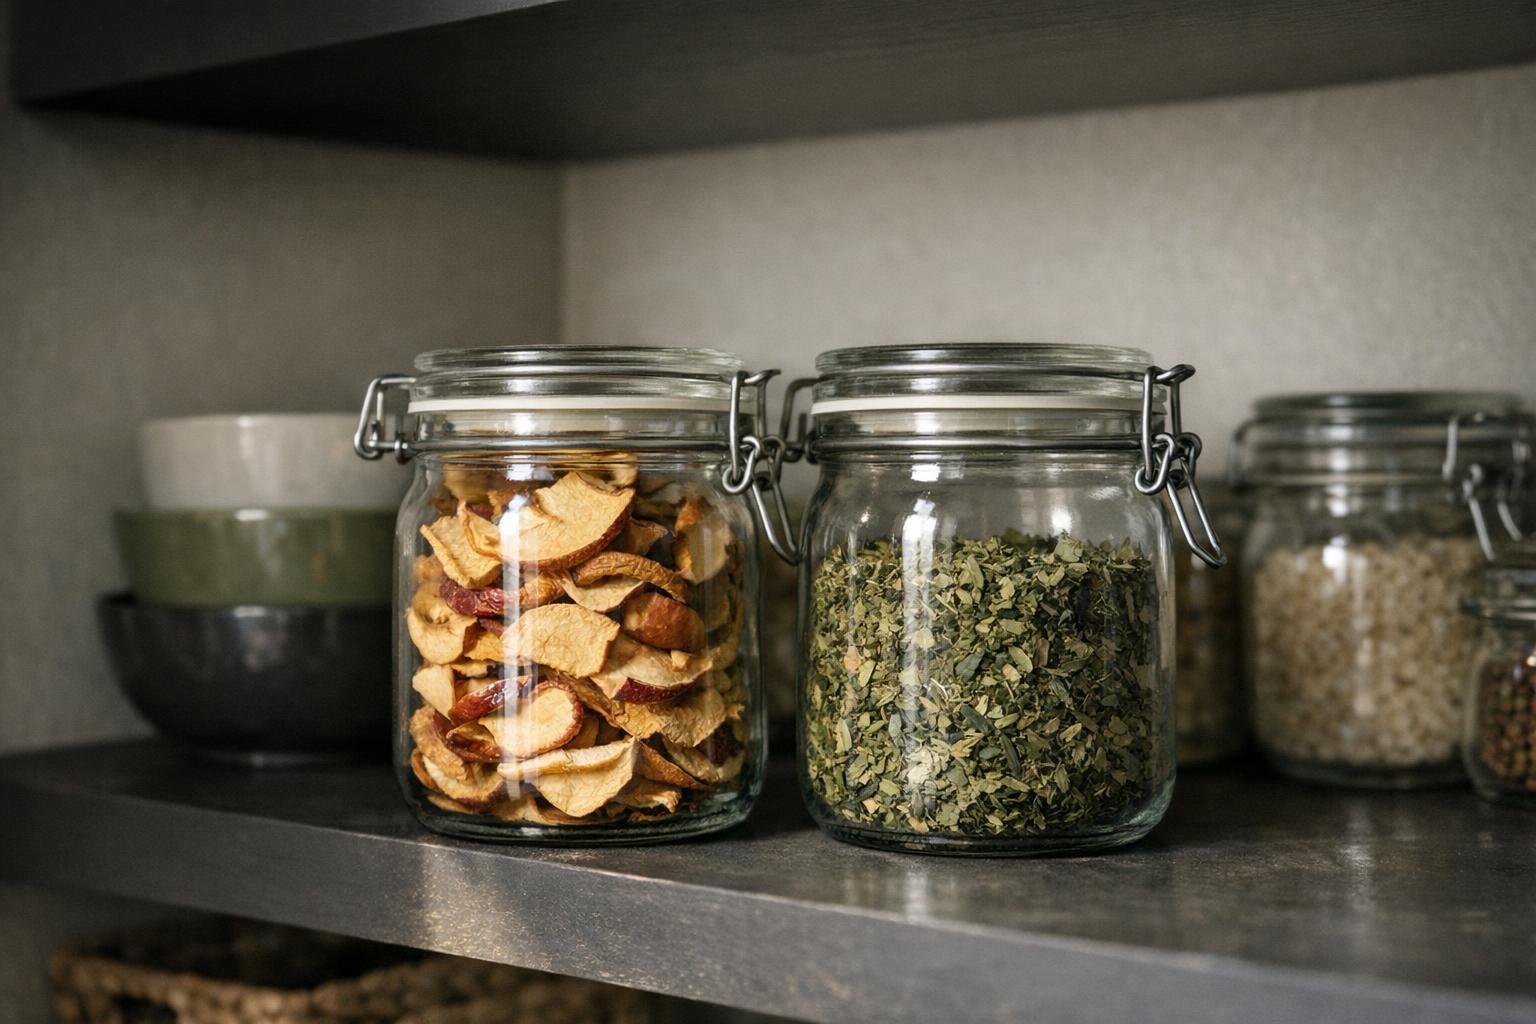
The drying cycle is not the end of a preservation project. Finished food needs the cooling, conditioning where applicable, packaging and storage steps described by its method. Plan these before the trays are full. A simple batch system helps you keep instructions attached to the right food and spot problems without relying on memory or the appearance of a tightly closed jar.
Prepare the storage plan before drying
Decide how the food will be used and choose portions that match that routine. A snack supply, soup ingredient and herb jar may need different package sizes. Have clean containers and labels ready, but let the food-specific instructions determine when and how they are filled. Convenience should not decide whether a cooling or conditioning step is skipped.
Reserve a separate place for unfinished batches so nobody mistakes them for ready-to-use pantry food. The label can state the food, date and current stage. For fruit, start with the fruit preparation guide; for vegetables, use the vegetable workflow. Keeping these paths distinct prevents a rule for one food from being applied to everything you dry.
Follow cooling and conditioning directions
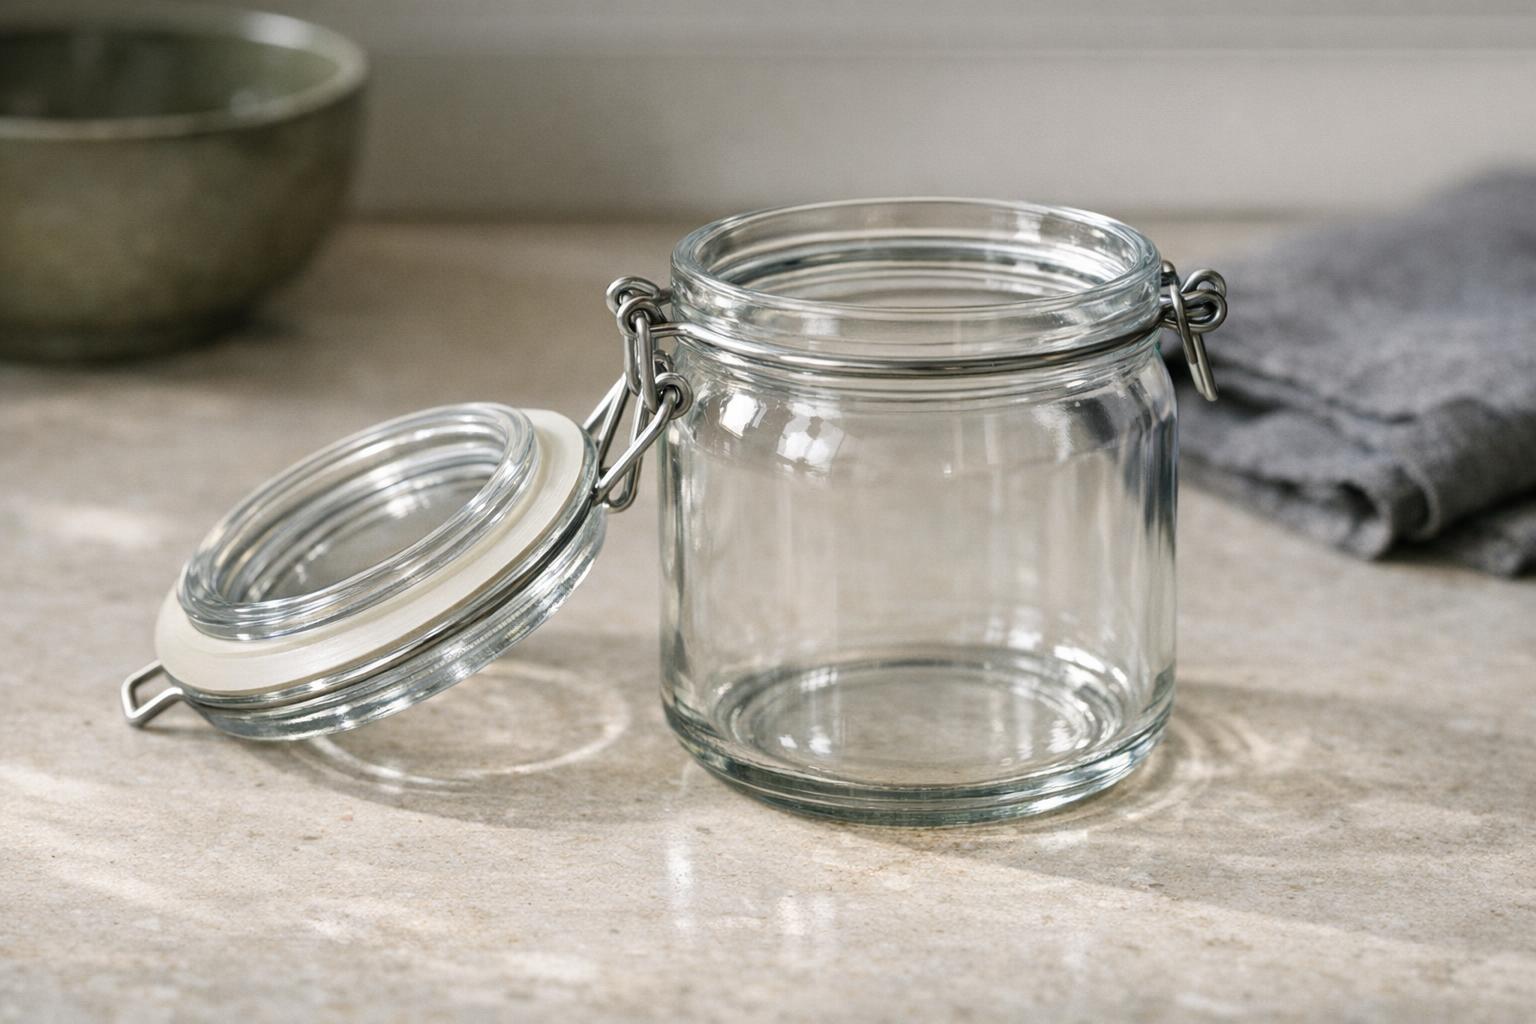
NCHFP advises cooling dried food before packaging, because warmth can lead to condensation. Its fruit-conditioning process lasts 7 to 10 days with daily shaking and moisture checks. Follow the complete source instructions for this step and any additional drying required if condensation appears; do not improvise a shorter process merely because the fruit looks appealing.
Conditioning is a defined process for the relevant food, not an excuse to leave every kind of dried ingredient loosely stored on a counter. Keep the containers identifiable and the original instructions nearby. If you have several batches in progress, assign each a simple identifier so your observations and dates do not get mixed together.
Choose suitable containers and portions
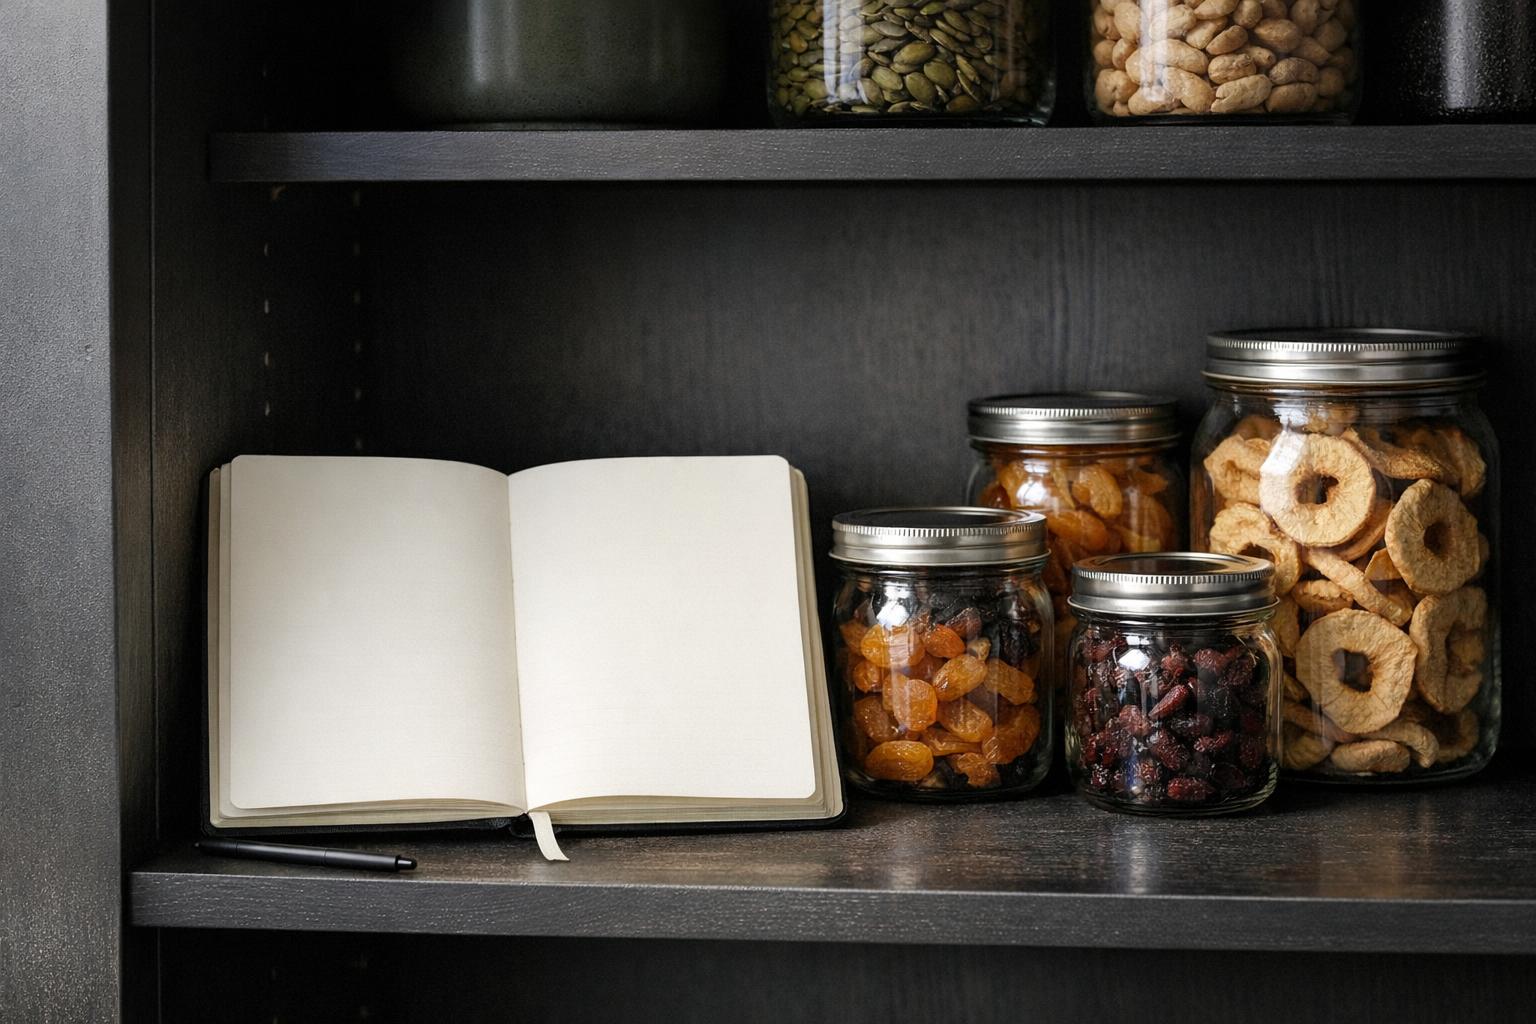
Use containers intended for food storage and suitable for the method. NCHFP discusses clean, dry jars, freezer containers and appropriate bags, along with the need to keep out moisture and insects. A decorative jar with an uncertain seal is not automatically equivalent to a storage container selected for this purpose.
Portion sizes should make sense for your household. If a recipe uses a small amount, several manageable packages may be more practical than one large container opened repeatedly. This is a workflow choice rather than a shelf-life calculation. Leave enough label space to identify the contents clearly and keep storage instructions with any food you share, instead of assuming the recipient knows how it was prepared.
Create a label that survives ordinary use
At minimum, make the food identity and preparation date easy to read. Add a batch identifier if you process several sessions of the same ingredient. In a separate notebook or file, connect that identifier to the source method, preparation notes and any relevant additions. You do not need an elaborate inventory application to maintain this link.
Avoid topping up an older container with a newer batch simply because the food looks the same. Separate batches make it easier to interpret a later change in texture or appearance and to locate the corresponding process notes. If a label peels away, replace it promptly rather than relying on the color or smell of the contents to reconstruct their identity.
Inspect storage instead of promising a fixed life
Check stored food according to the preservation guidance and pay attention to moisture or spoilage. NCHFP says to discard moldy food. Its storage discussion also explains that heat affects quality, so a broad “keeps for a year” slogan should not be treated as a guarantee for every kitchen and batch.
Keep food-specific directions with the container, especially for products with additions or separate storage requirements.
- Fruit leather with fillings and home jerky need their own instructions.
- A vacuum sealer changes packaging; it does not prove that an unverified drying process created a shelf-stable food.
- When the history of a batch is uncertain, packaging appearance cannot resolve that uncertainty.
Build a modest rotation routine
Choose a regular moment to look through the stored batches and plan meals that use them. Put clearly identified older batches where they are easy to see without mixing them into newer packages. Note whether the portions are useful and whether you routinely make more than the household uses. Those observations can improve the next preparation session.
If you share food, supply its identity and applicable storage instructions rather than a casual assurance that it is dry. Keep the original source available for questions. When deciding whether to buy a larger dehydrator, review what you actually used from previous sessions first. Better organization and realistic batch size may be more valuable than additional trays, and neither requires inventing a universal storage-life claim.
For measured batch-space planning, use the tray layout estimator. Its result is a space estimate only, not a processing time or safety approval.
| Section | Key point |
|---|---|
| Prepare the storage plan before drying | The label can state the food, date and current stage. |
| Follow cooling and conditioning directions | Keep the containers identifiable and the original instructions nearby. |
| Choose suitable containers and portions | Portion sizes should make sense for your household. |
| Create a label that survives ordinary use | At minimum, make the food identity and preparation date easy to read. |
| Inspect storage instead of promising a fixed life | NCHFP says to discard moldy food. |
| Build a modest rotation routine | Keep the original source available for questions. |