Jerky is a food-safety project before it is an appliance-shopping project. A dehydrator can remove moisture, but its marketing label does not validate the preparation of raw meat or poultry. Start with USDA guidance, identify the complete process you will follow, and make sure you have the equipment and time to carry it out. This article explains the decisions to check; it is not a substitute for the full USDA instructions.
Start with the USDA heat step
USDA’s home jerky advice recommends heating meat to 160°F and poultry to 165°F before the dehydrating process. Those are internal food temperatures, not merely numbers to select on a dehydrator dial. Use an appropriate food thermometer and follow the complete USDA preparation method to establish that step.
This is the first question to resolve before shopping: how will you carry out the required heating step and verify it? An appliance listing that includes the word jerky does not answer that question. Nor does a maximum air-temperature claim show that every strip has reached the required internal temperature. Keep the source open while planning the batch and do not replace a measured check with an assumption.
Source: USDA FSIS: Jerky and Food Safety.
Write the complete sequence before beginning
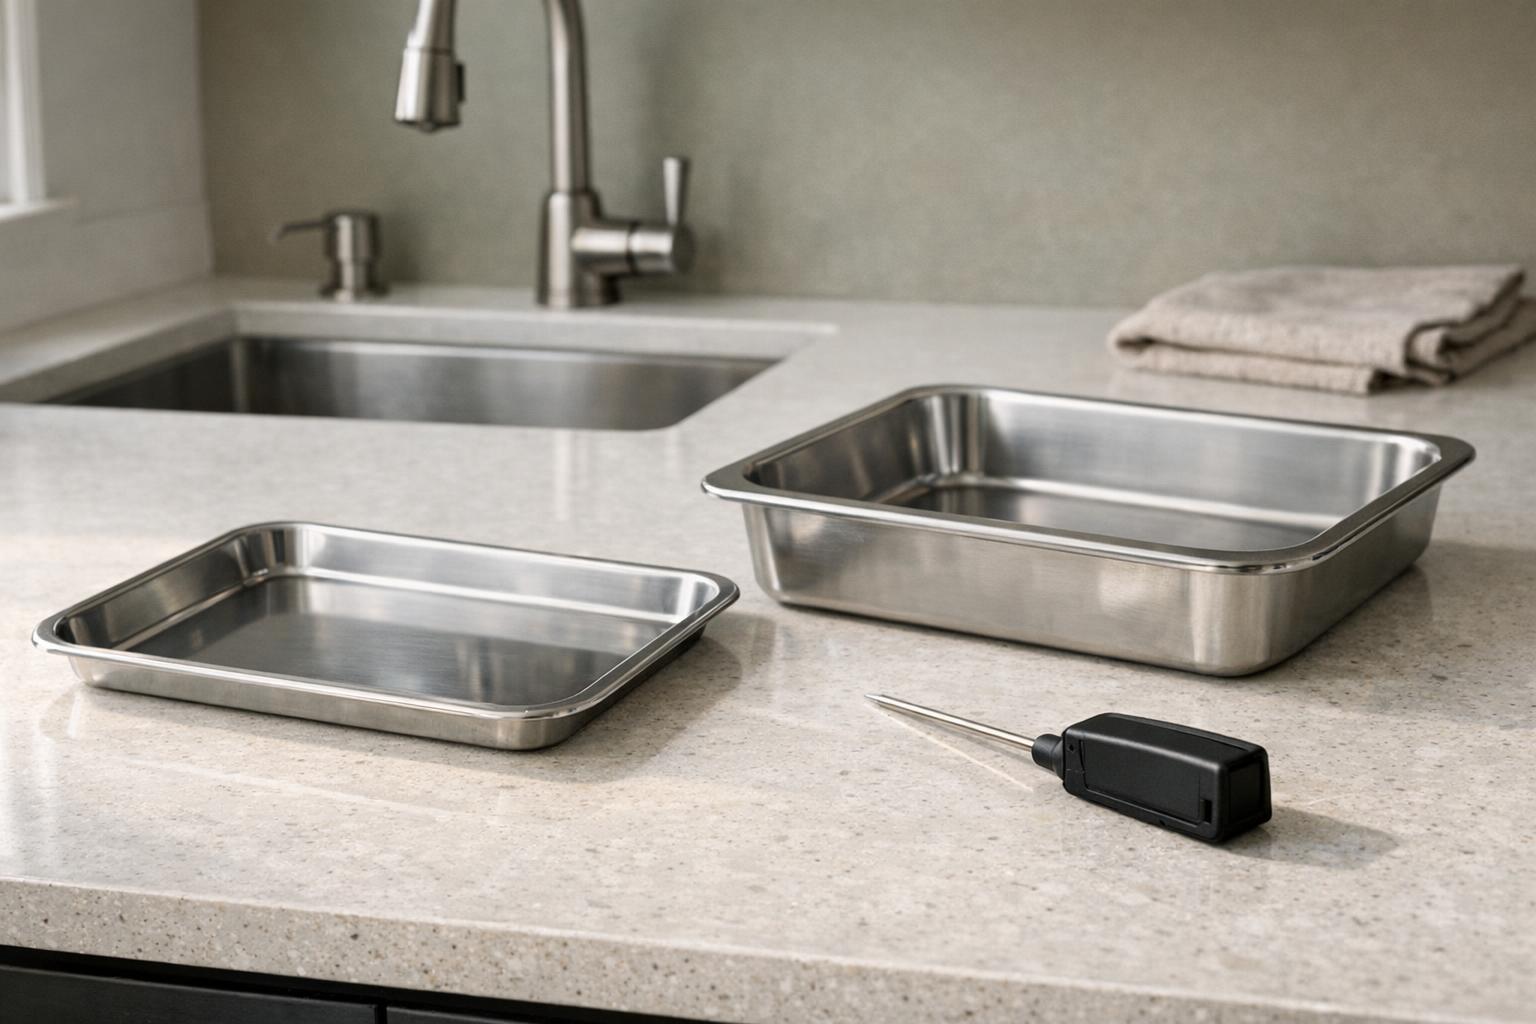
Make a process sheet that names the type of meat, the source instructions, required utensils and each stage from preparation through storage. Leave room for observations and the date. The sheet is an organizational aid; its safety requirements must come from the researched method. Avoid combining a marinade from one source, a heat step from another and a storage promise from a third.
If you do not understand an instruction, resolve it before opening the meat package. That is easier than trying to make a decision while several trays are waiting. Our temperature guide explains why a setting, a time and an internal food measurement have different roles in this plan.
Keep raw handling and finished handling distinct
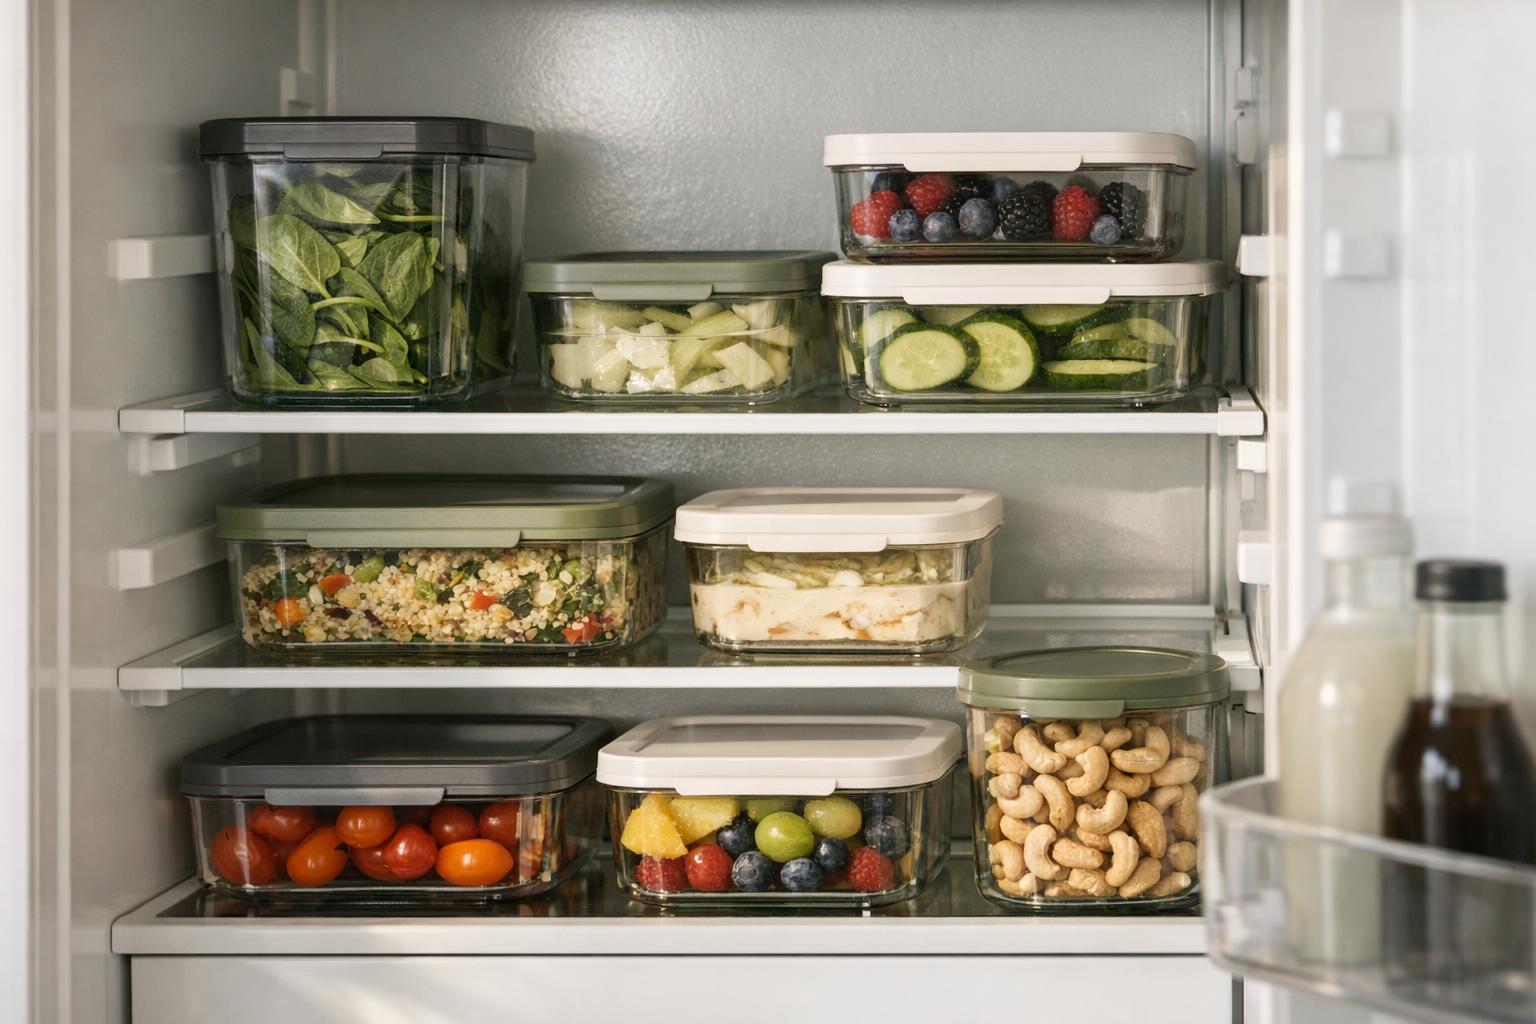
Arrange preparation tools and the final-food area so they are clearly separate. Decide which utensils handle raw meat and which will handle the finished product. Have the cleaning supplies required by your method ready, rather than relying on the same cloth or board throughout the session. Follow USDA’s handling directions for the food and the appliance maker’s cleaning instructions for the machine.
A useful practical check is to walk through the sequence without food: where will a loaded tray sit, where will the thermometer go after use, and where will the finished strips be packaged? This rehearsal can reveal crowded or ambiguous steps. It is not a sanitation validation, but it gives you time to fix a poorly organized workflow.
Inspect the equipment claims carefully
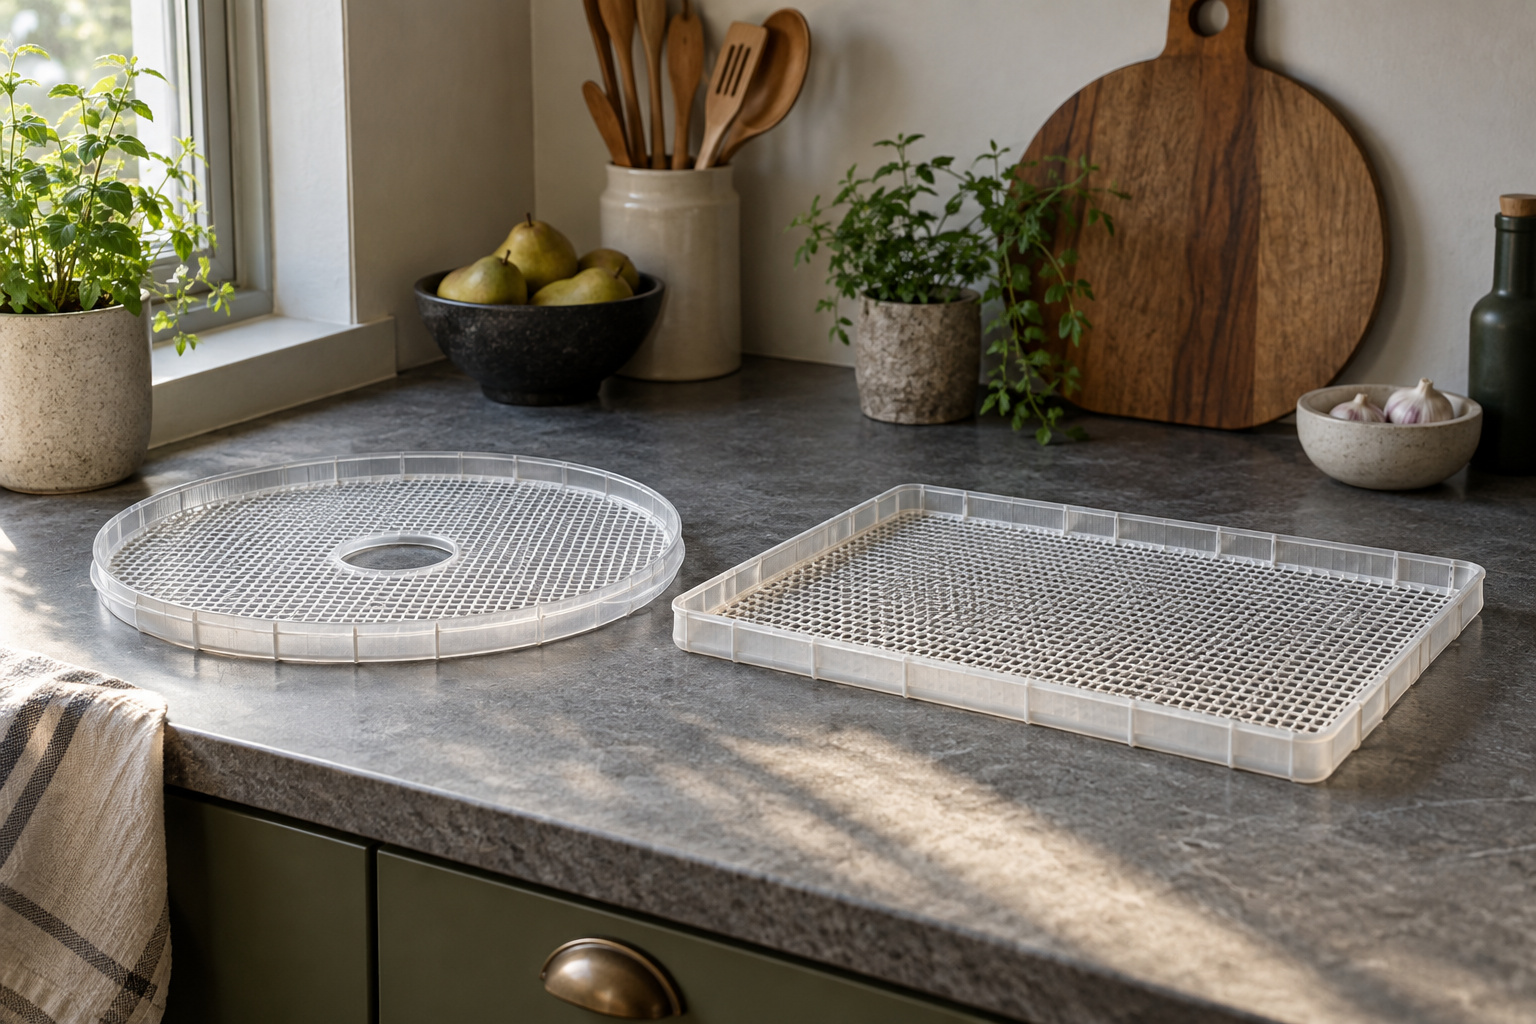
Look for the exact model number, current operating manual, tray-cleaning directions and approved loading arrangement. Do not infer that a stainless-looking rack is dishwasher safe or that a liner from another generation is suitable. The ability to reach trays and clean their edges matters when comparing practical ownership requirements.
The same caution applies to timers. An automatic stop can support a schedule, but it does not inspect the meat or certify completion. If the manufacturer’s directions leave an essential requirement unresolved, ask for clarification before use. Our dehydrator buying guide helps organize these checks, and our documentation-based comparison ratings keep unsupported performance claims out of the shortlist.
Do not let convenience replace the method
Common shortcuts begin with a reasonable wish to save time: skipping a separate step, making much thicker strips, or starting a large batch just before leaving home. Treat each as a proposed change to the process, not as a harmless preference. A method is not validated for a new set of conditions merely because the finished food looks familiar.
Keep your first session small enough to manage and choose a time when you can perform the required checks. If equipment stops or the process is interrupted, do not invent a compensating duration. Consult the source or a food-safety professional about the actual circumstances. Uncertainty about the process is not resolved by tasting a strip or drying it until it seems especially hard.
Plan storage and cleanup before the last tray
Have the source’s storage instructions and suitable packaging ready before the drying stage ends. Distinguish home-prepared jerky from commercially produced products; a shop-bought package’s shelf-life statement does not transfer to your kitchen batch. Do not turn a vacuum-sealed bag into an unsupported claim of room-temperature stability.
Afterward, complete the appliance cleaning procedure and store the record of the batch separately from the next session’s blank plan.
- Review cleaning and inspection for the questions to ask about removable parts and electrical components.
- If you decide that this workflow does not suit your kitchen, choosing another preservation project is a reasonable decision.
- Buying a larger dehydrator does not remove the safety steps.
For measured batch-space planning, use the tray layout estimator. Its result is a space estimate only, not a processing time or safety approval.
| Section | Key point |
|---|---|
| Write the complete sequence before beginning | Leave room for observations and the date. |
| Keep raw handling and finished handling distinct | This rehearsal can reveal crowded or ambiguous steps. |
| Inspect the equipment claims carefully | The same caution applies to timers. |
| Do not let convenience replace the method | Consult the source or a food-safety professional about the actual circumstances. |
| Plan storage and cleanup before the last tray | For measured batch-space planning, use the tray layout estimator. |