A few well-organized trays of herbs can be a more useful first project than a machine filled with assorted garden clippings. Know the culinary plant you are handling, choose a researched preparation method and keep varieties identifiable. This guide focuses on the small decisions that make the process manageable: harvesting, sorting, tray support, inspection and storage. It does not identify wild plants or establish that an unfamiliar plant is safe to eat.
Start with an identified culinary herb
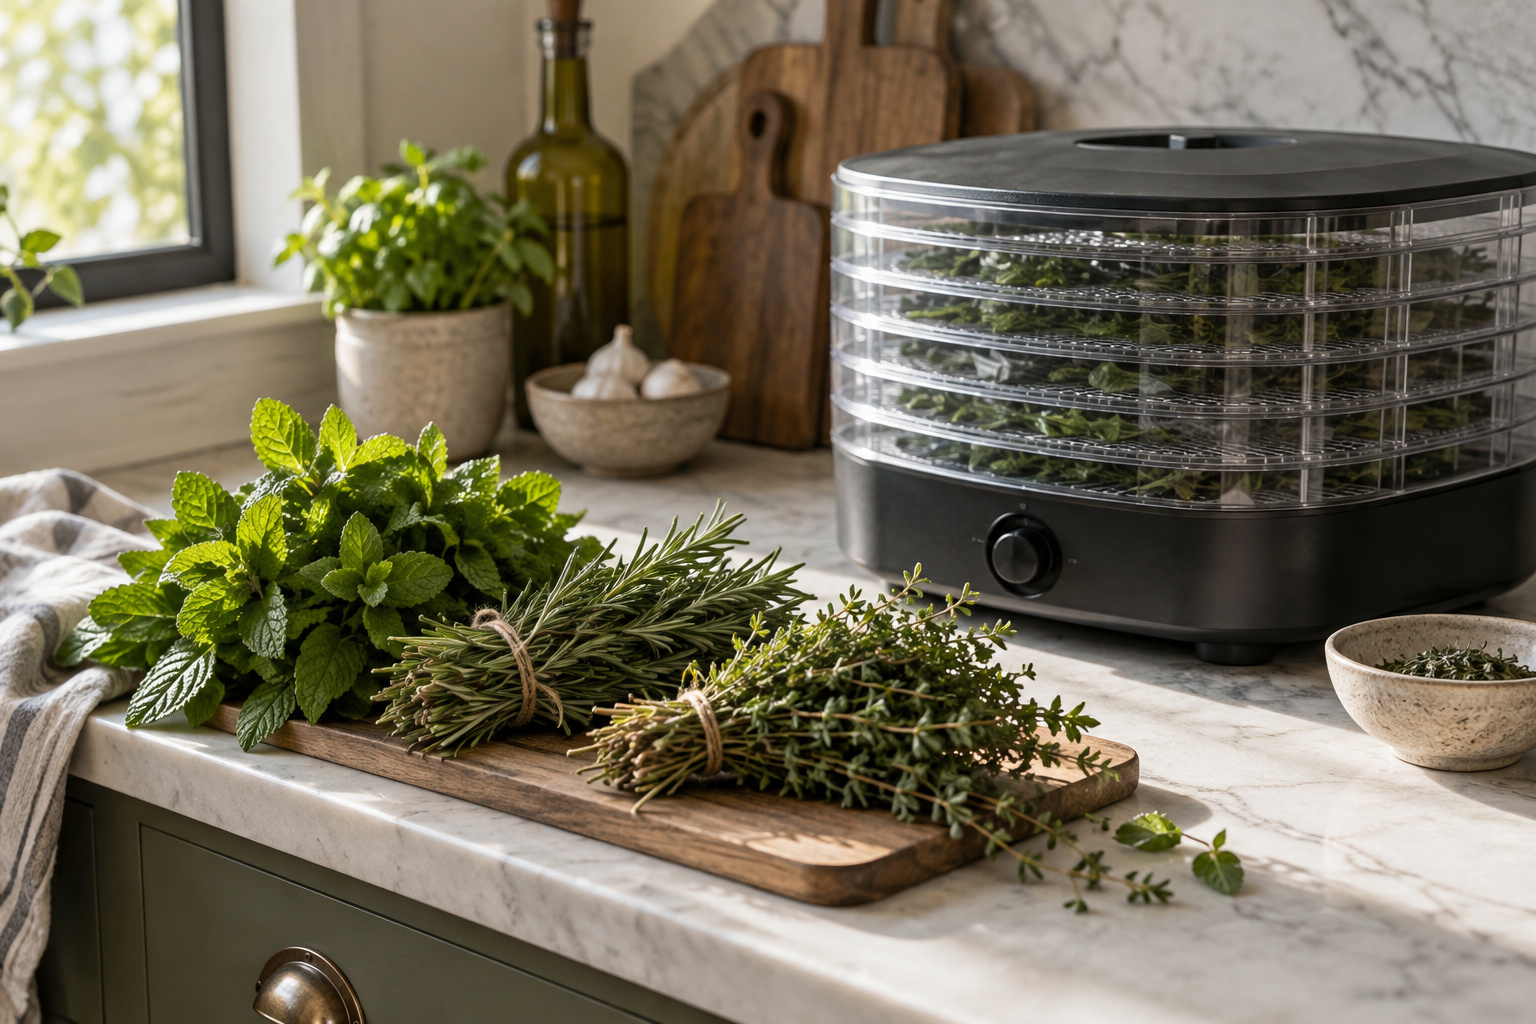
Choose an herb you already use in cooking and can identify confidently. Do not rely on this guide or a dehydrator label to identify a wild plant. Keep varieties separate during your first sessions so the finished container can be labeled accurately. If you collect several herbs on the same morning, use distinct containers and notes from the beginning.
Plan a quantity that you can sort and prepare without leaving the harvest unattended. NCHFP advises gathering herbs after dew has evaporated, before flowers open for many herbs, and avoiding bruised or imperfect material. Read the source’s preparation directions for the herb you are handling. A large harvest is not automatically a reason to process everything at once.
Source: NCHFP: Herbs.
Check the low end of the thermostat
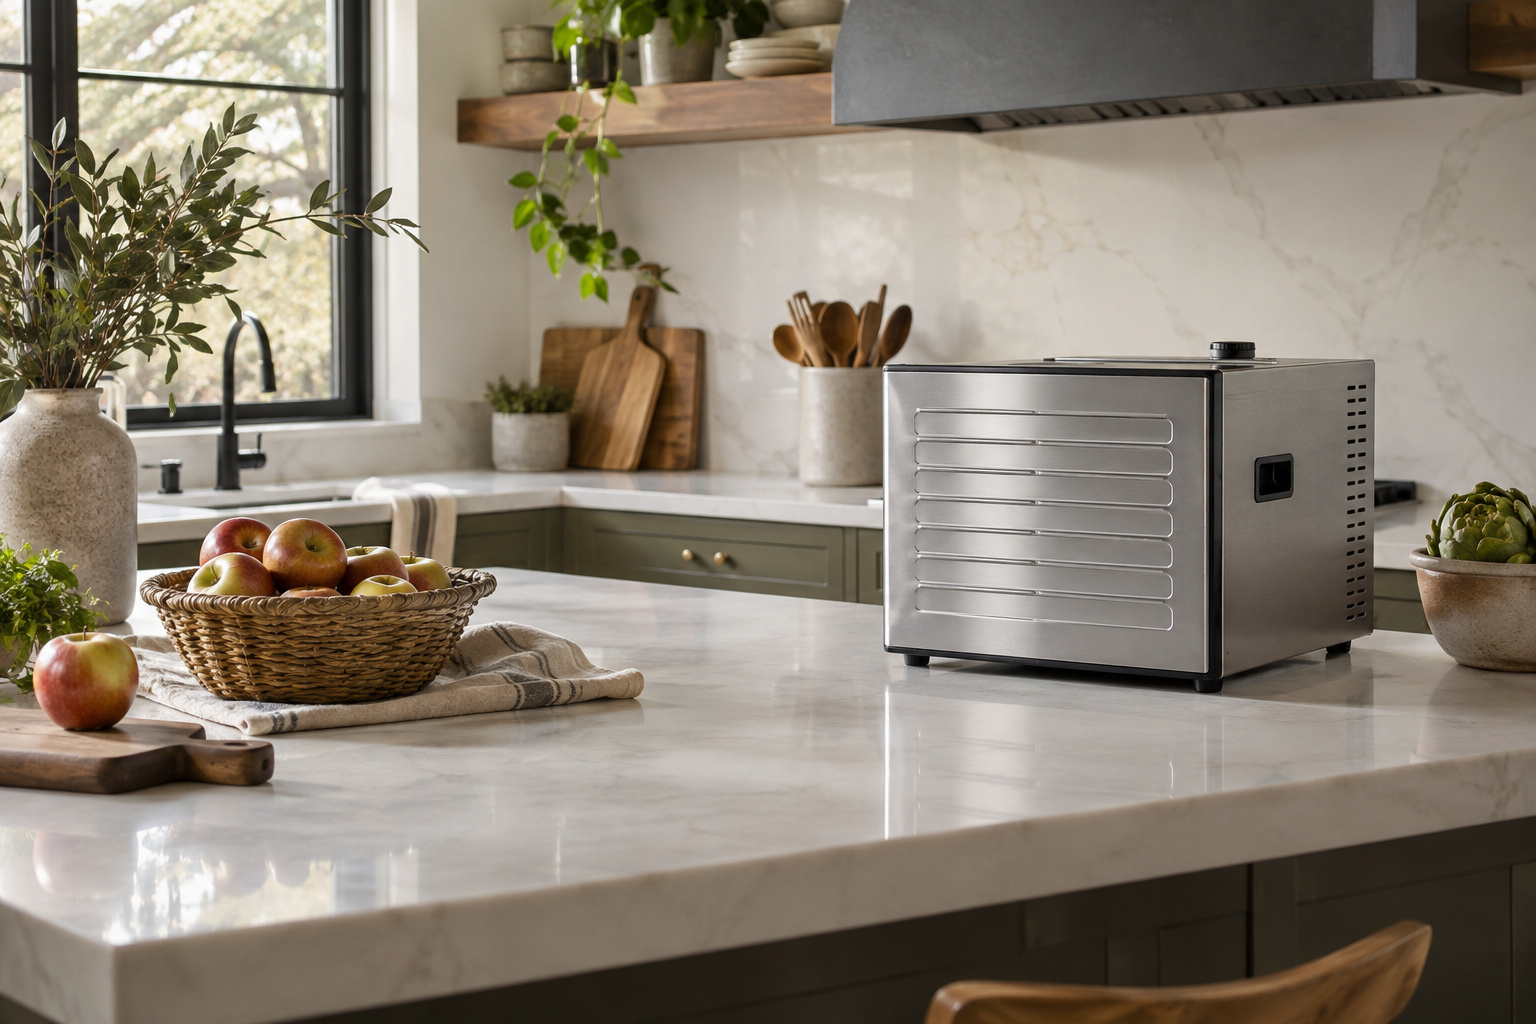
NCHFP’s dehydrator guidance for herbs uses 95°F to 115°F, with temperatures as high as 125°F in more humid conditions. That range is a reason to investigate the appliance’s actual low-temperature capability, not to select its hottest preset. Check the exact instructions and do not assume that every machine marketed for food has an identical operating range.
When comparing equipment, write down the supported setting range and how you will read or adjust it. A clear control can matter more to your routine than an unrelated high-temperature claim. The temperature guide explains why food-specific directions should come before appliance presets. If your machine cannot support the selected method, choose a suitable method or appliance instead of guessing.
Source: NCHFP: Herbs.
Choose a support surface for small leaves
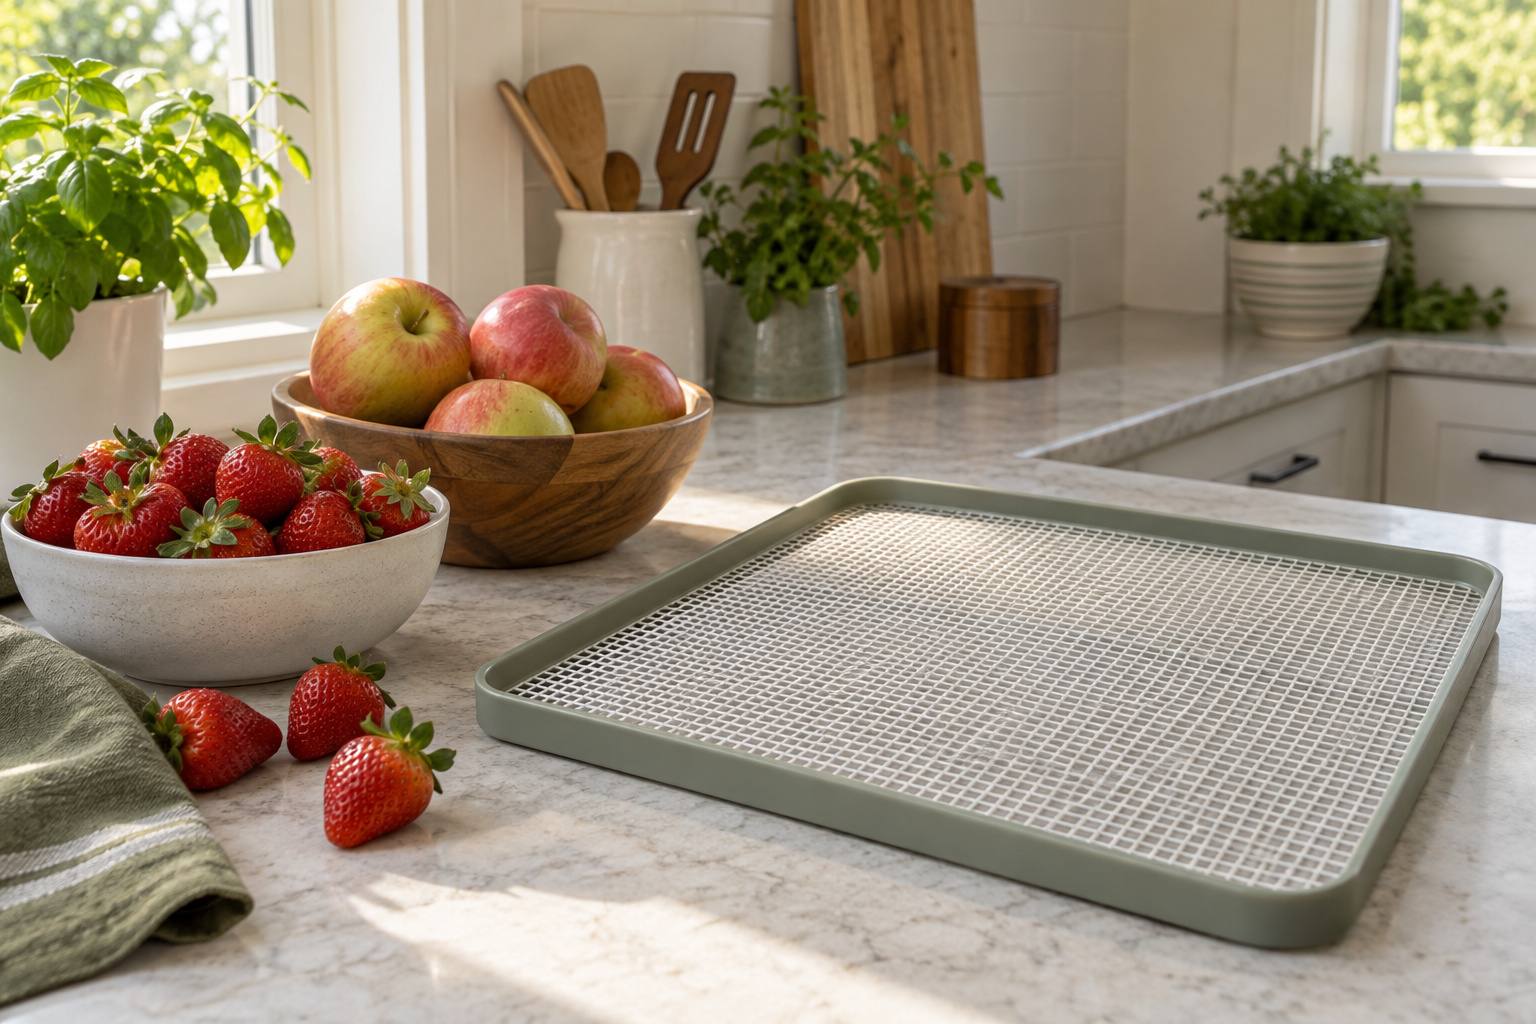
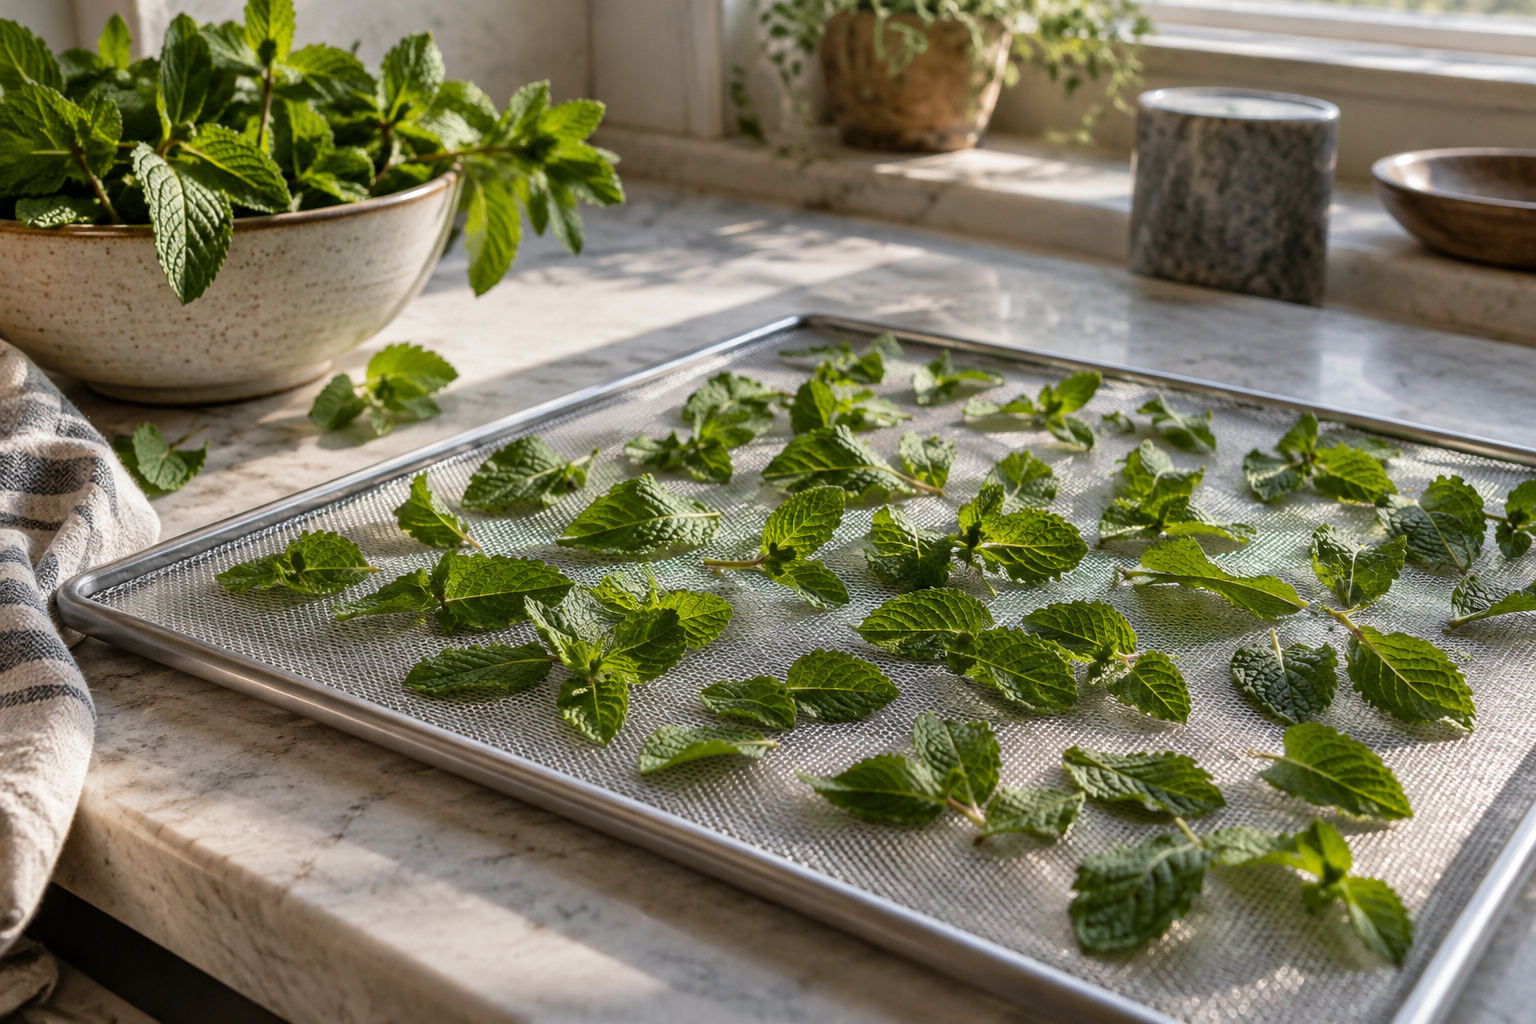
Leaves may be small enough to need an approved mesh insert. Identify the exact tray and insert model, then check how they sit together without covering openings that the maker requires for airflow. A solid sheet intended to contain fruit puree serves a different purpose and should not be assumed interchangeable.
Lay out a trial tray before preparing the full harvest. Make sure you can move it from the counter to the machine without spilling leaves or folding the insert. This is a handling check, not a drying-performance test. Read our tray and liner guide for a comparison worksheet and keep the packaging details for any accessory you buy.
Keep inspection practical and specific
NCHFP describes checking herbs periodically and identifies crumbling leaves and stems that break when bent as drying indicators. Follow the instructions for the herb and appliance you are using rather than assuming a fixed timer value is decisive. A control display does not inspect the leaves hidden near the center of a tray.
Choose a session when you can perform those checks.
- A kitchen note can record the herb, preparation time, tray arrangement and observations.
- Do not turn one batch’s duration into a guarantee for every future harvest.
- If you change the herb, cut, quantity or method, revisit the source.
- A record is most useful when it reminds you what was actually done rather than creating a shortcut around the instructions.
Source: NCHFP: Herbs.
Keep the finished herb identifiable
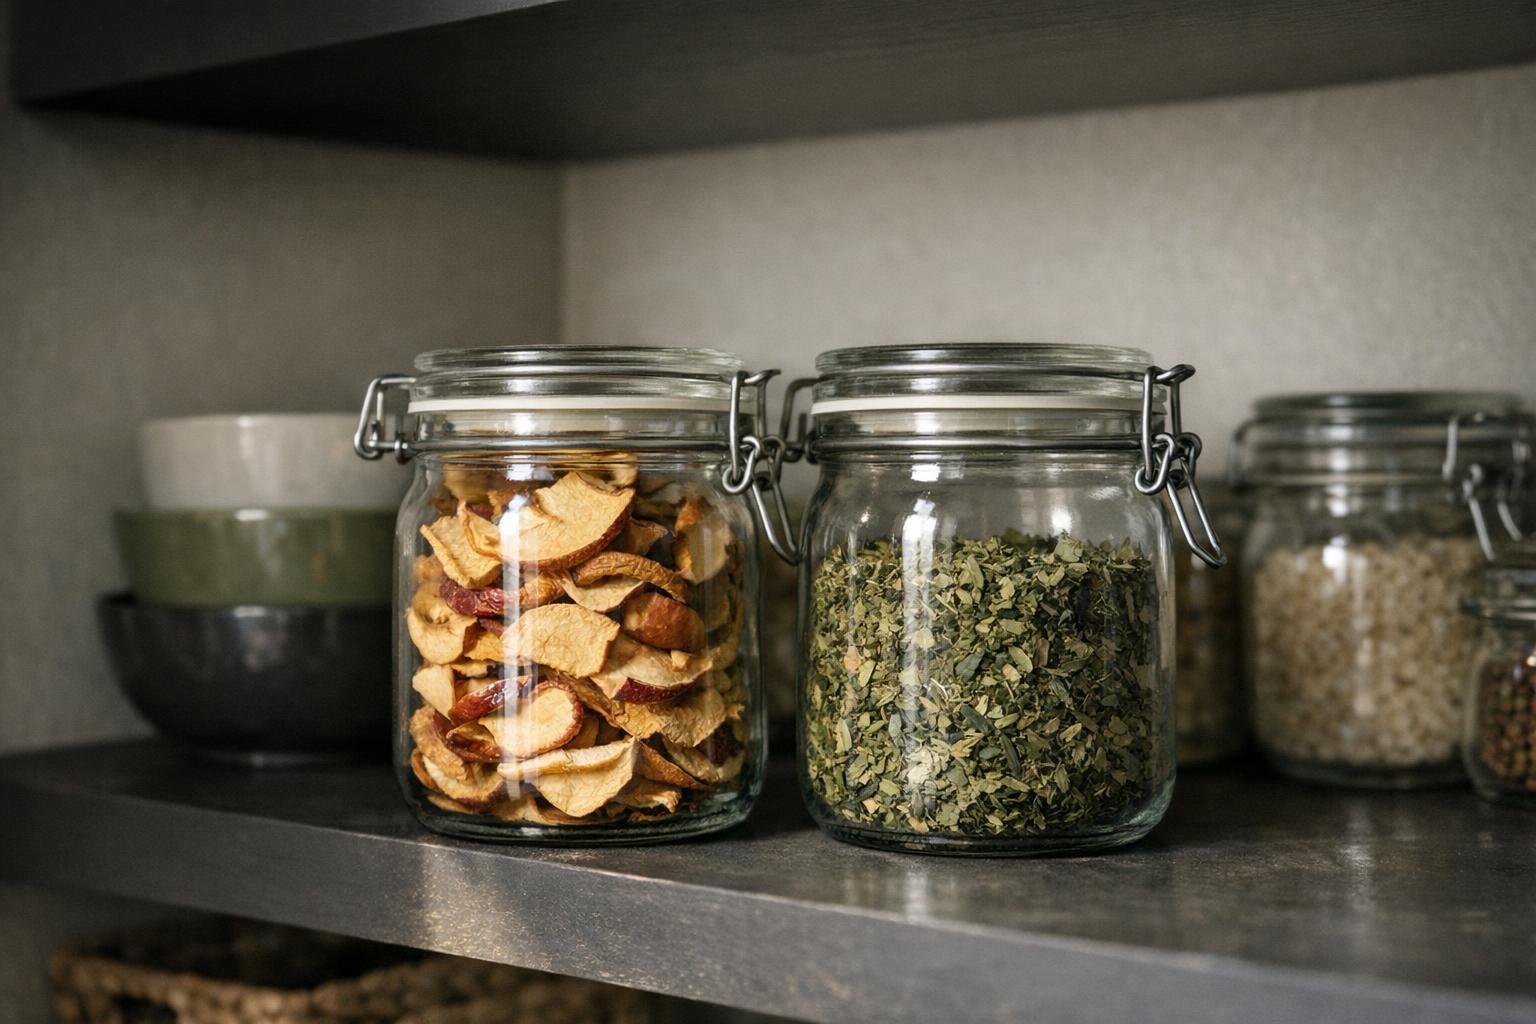
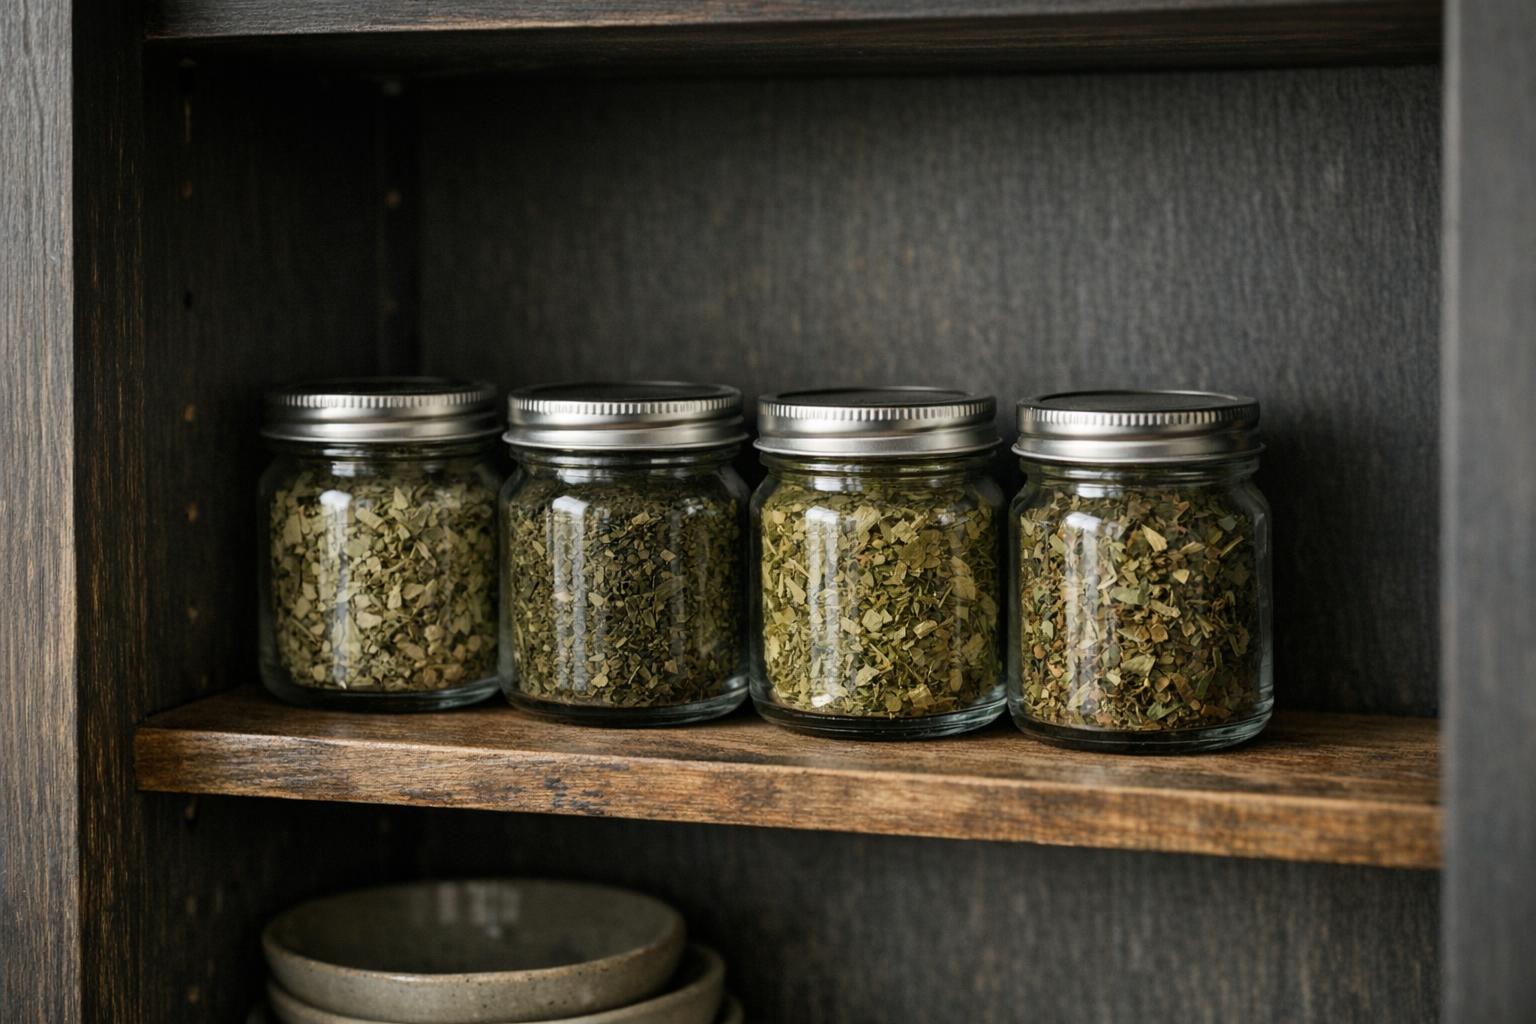
Set out labeled containers before removing the batch. Record the herb name and drying date in a way that remains legible after the container has been handled several times. Avoid filling an old jar whose label names a different herb. The practical goal is that another person in your kitchen can identify the contents without asking you.
Choose a package size that suits your cooking routine and follow the preservation guidance for cooling and storage. Do not add a newly processed batch to an older one simply to save a container; separate identities make later observations easier to interpret. Reserve a place for the batch record, including the source link, so you can look up the original directions when needed.
Evaluate the routine before expanding
Use a small amount in a familiar recipe and note whether you want to repeat the project. Flavor observations are personal preferences, not evidence that a product has preserved a measured percentage of nutrients or essential oils. Avoid borrowing a manufacturer’s broad quality claim to describe your own unmeasured result.
If you want to process more next time, ask which step took the most attention: harvesting, sorting, loading or cleanup. Additional trays may not solve a bottleneck at the sink or counter. Review cleaning your dehydrator and the manufacturer’s tray limits before scaling up. A modest routine that produces clearly identified herbs you actually use is a better practical target than filling every possible shelf.
For measured batch-space planning, use the tray layout estimator. Its result is a space estimate only, not a processing time or safety approval.
| Section | Key point |
|---|---|
| Start with an identified culinary herb | Read the source’s preparation directions for the herb you are handling. |
| Choose a support surface for small leaves | This is a handling check, not a drying-performance test. |
| Keep inspection practical and specific | Choose a session when you can perform those checks. |
| Keep the finished herb identifiable | Set out labeled containers before removing the batch. |
| Evaluate the routine before expanding | For measured batch-space planning, use the tray layout estimator. |