Fruit leather is a different tray task from drying slices. Puree needs containment, an even layer and a way to check the center of the sheet. Before blending fruit, confirm that your dehydrator has a manufacturer-approved surface for this purpose. Then follow the NCHFP method and organize the pouring, inspection and packaging steps. Starting with a simple fruit mixture makes the first session easier to understand.
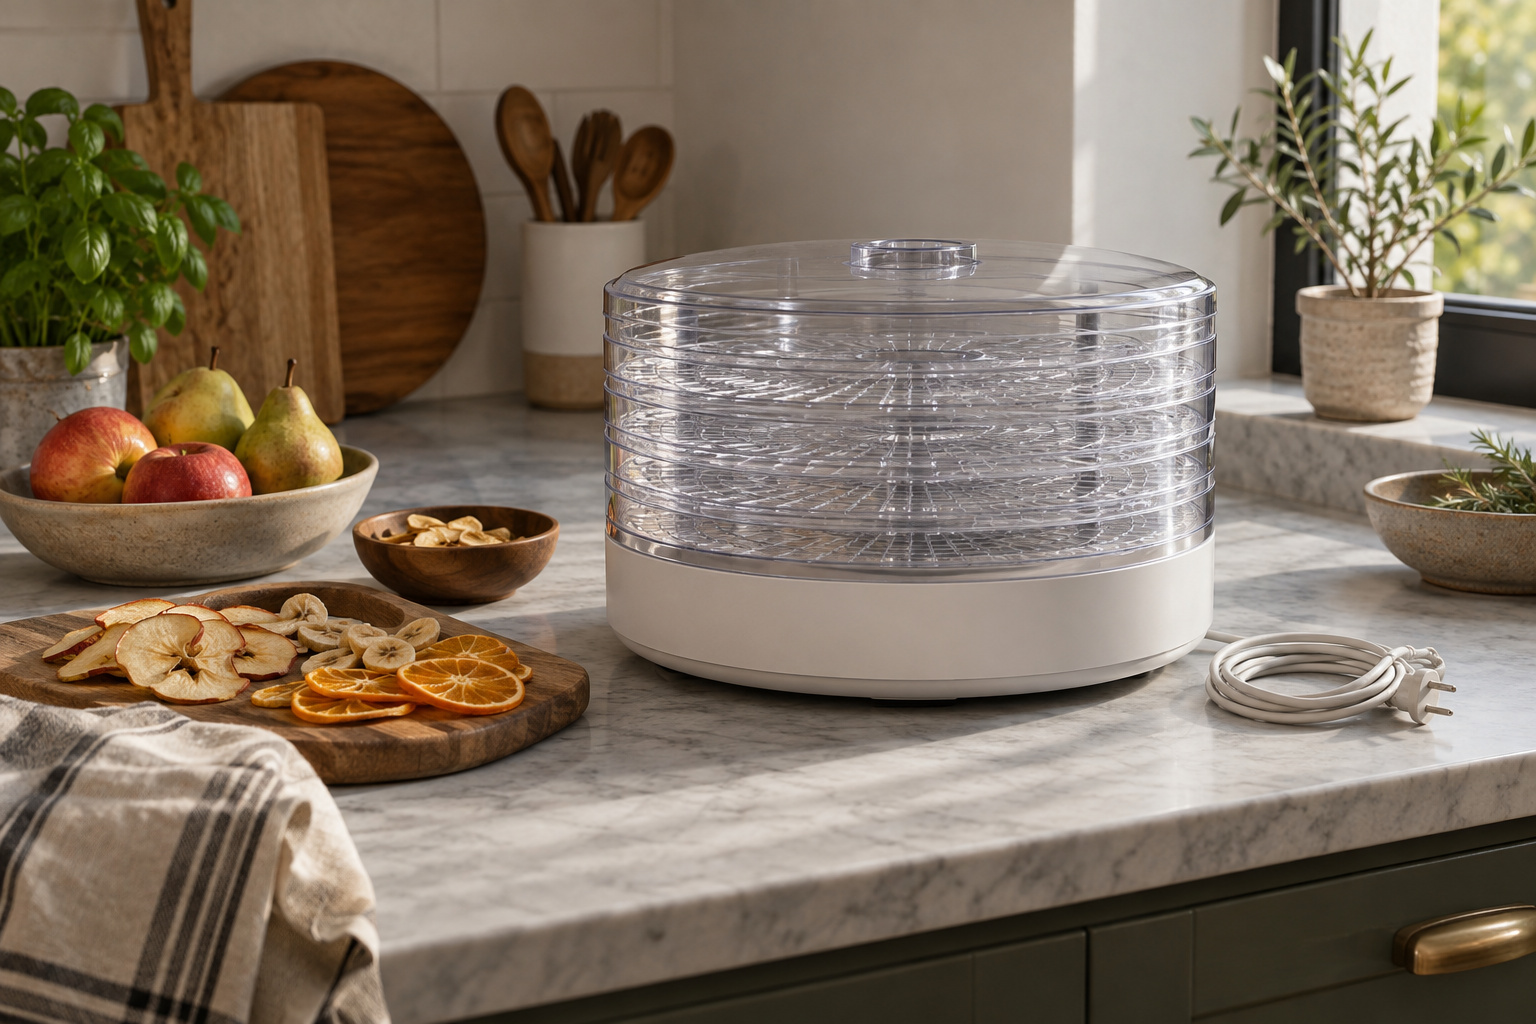
Choosing equipment? Our best dehydrators for fruit leather comparison lists complete dehydrators whose listings include a fruit roll or fruit leather sheet, with their documented tray space and temperature range.
Choose a simple mixture and read the method
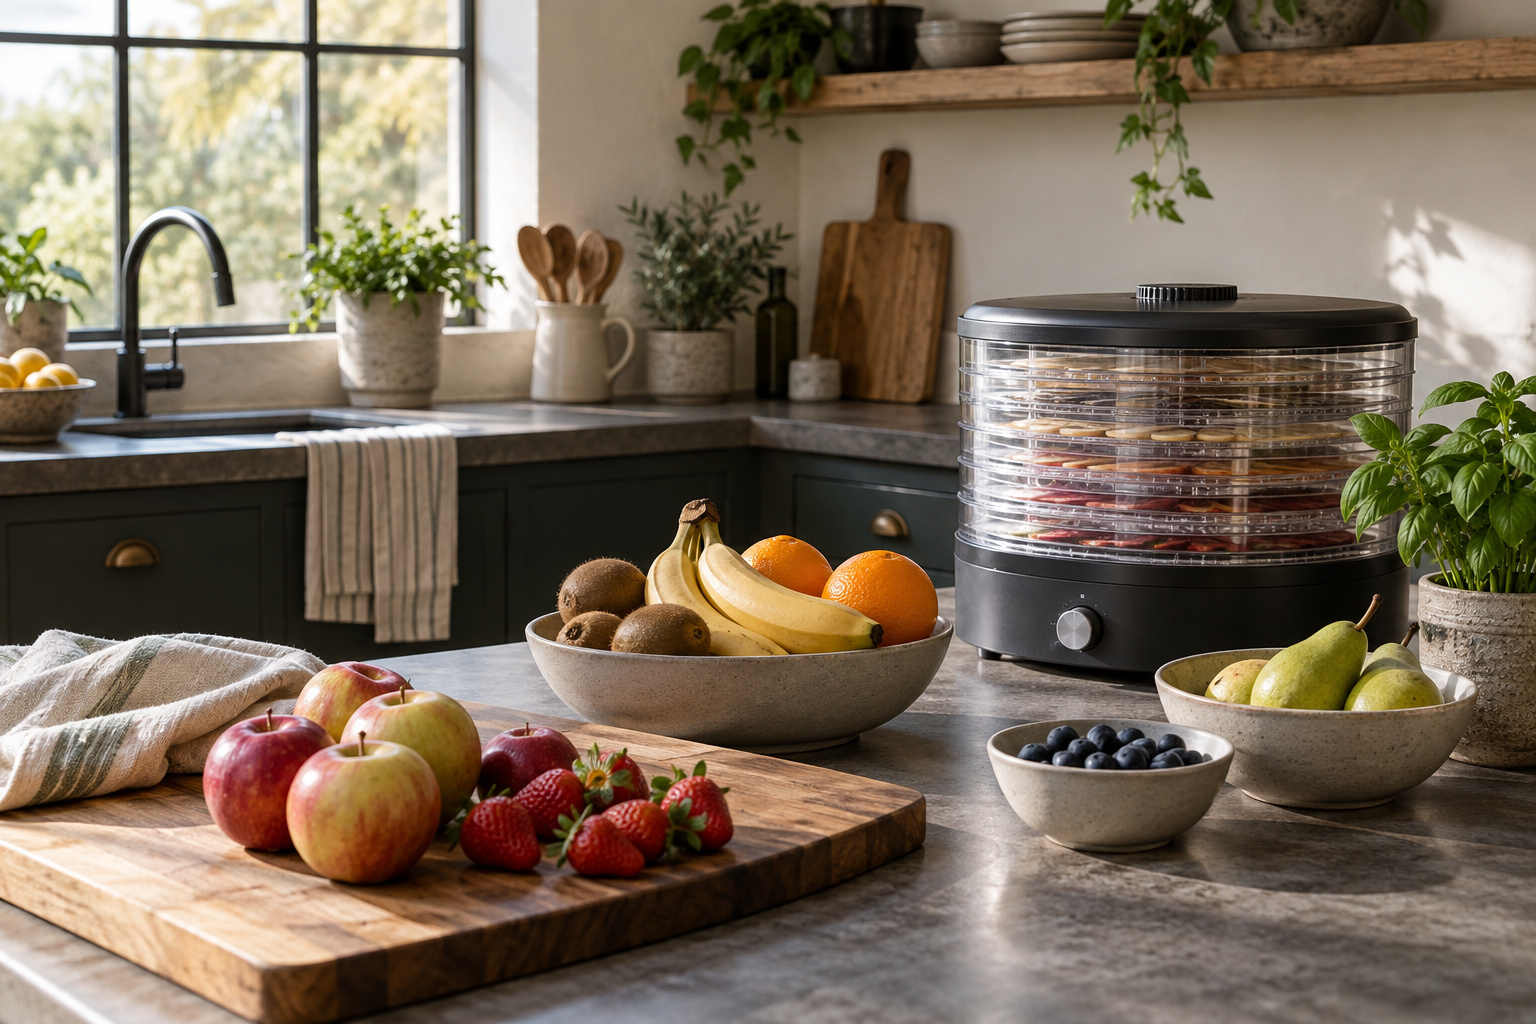
Begin with the NCHFP fruit-leather directions and decide which fruit form you will use: fresh, frozen or canned as the method permits. Read the preparation steps before shopping for ingredients. A familiar puree is easier to spread and document than an elaborate mixture with several additions whose handling requirements differ.
Write down the mixture you plan to make and the amount, then check it against your available tray surface. NCHFP describes an approximately one-eighth-inch layer; use the source’s full directions rather than treating tray capacity as a reason to pour a deeper sheet. If you have more puree than your permitted tray layout can accept, do not improvise extra thickness to make it all fit.
Source: NCHFP: Fruit Leathers.
Confirm that the solid sheet is appropriate
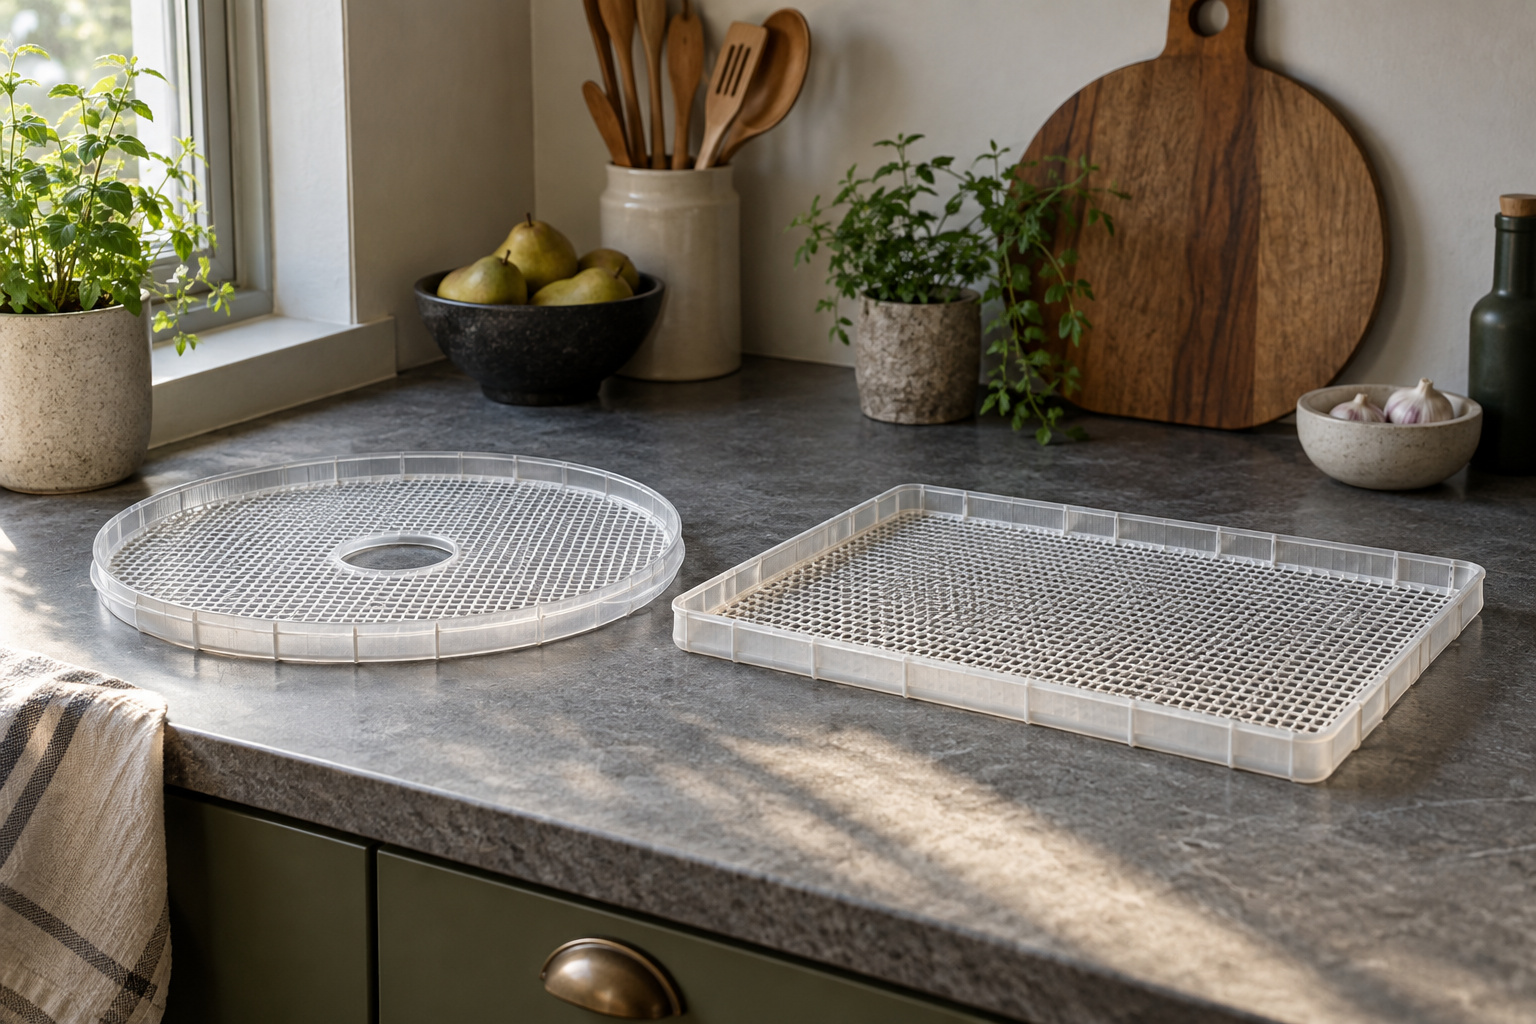
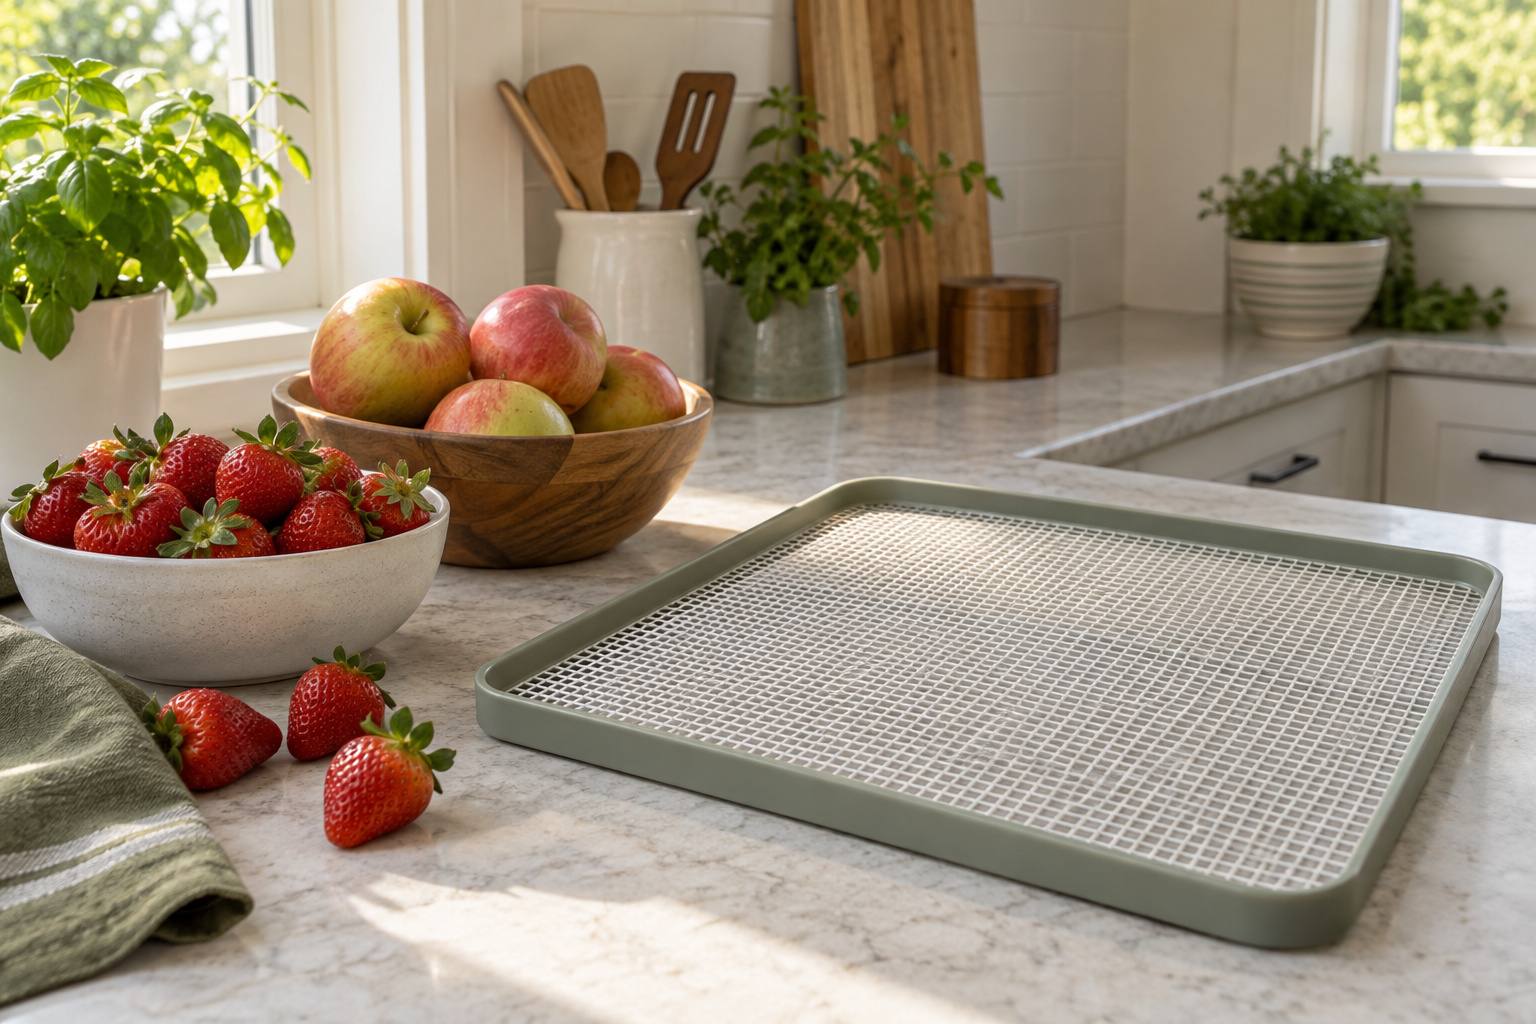
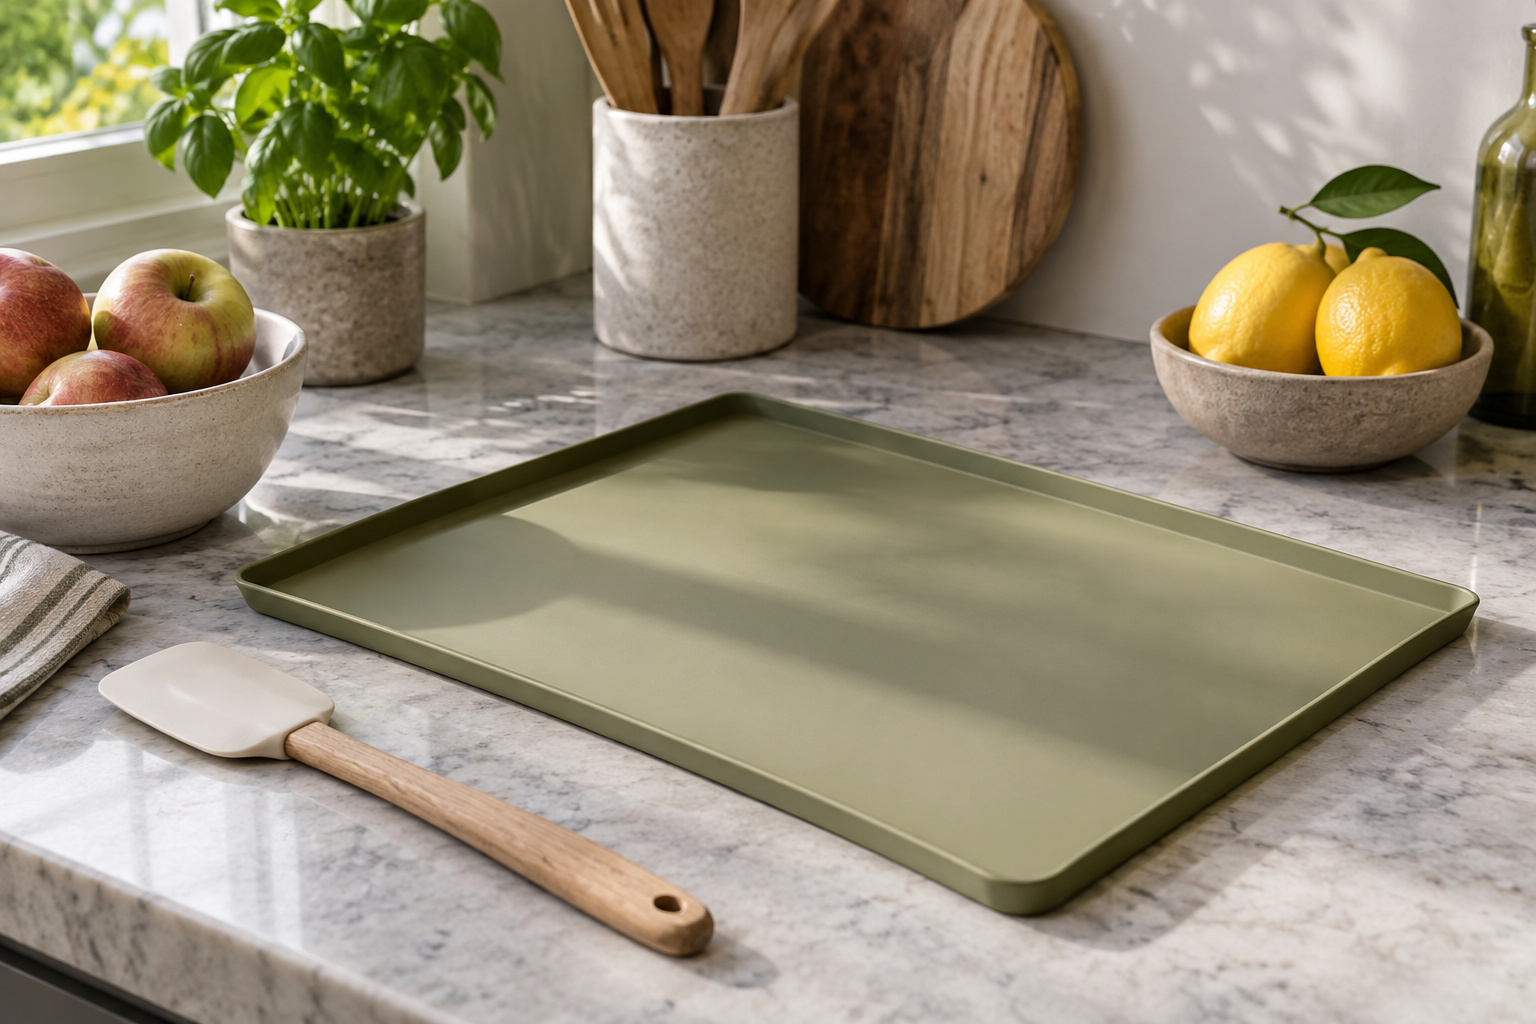
The surface has to contain puree while working with the appliance’s intended airflow. Check the exact tray dimensions, any center opening and the approved liner type. Read both the appliance and accessory instructions. A sheet described only as nonstick, silicone or reusable does not establish that it fits your machine or is approved for its operating conditions.
Dry-fit the empty sheet and tray before handling food. Check that the tray seats normally and that the liner does not fold over a required vent. Do not cut an accessory unless its instructions expressly allow it. Our tray and liner checklist helps you keep the compatibility questions separate from the appeal of a convenient multipack.
Arrange the counter before you pour
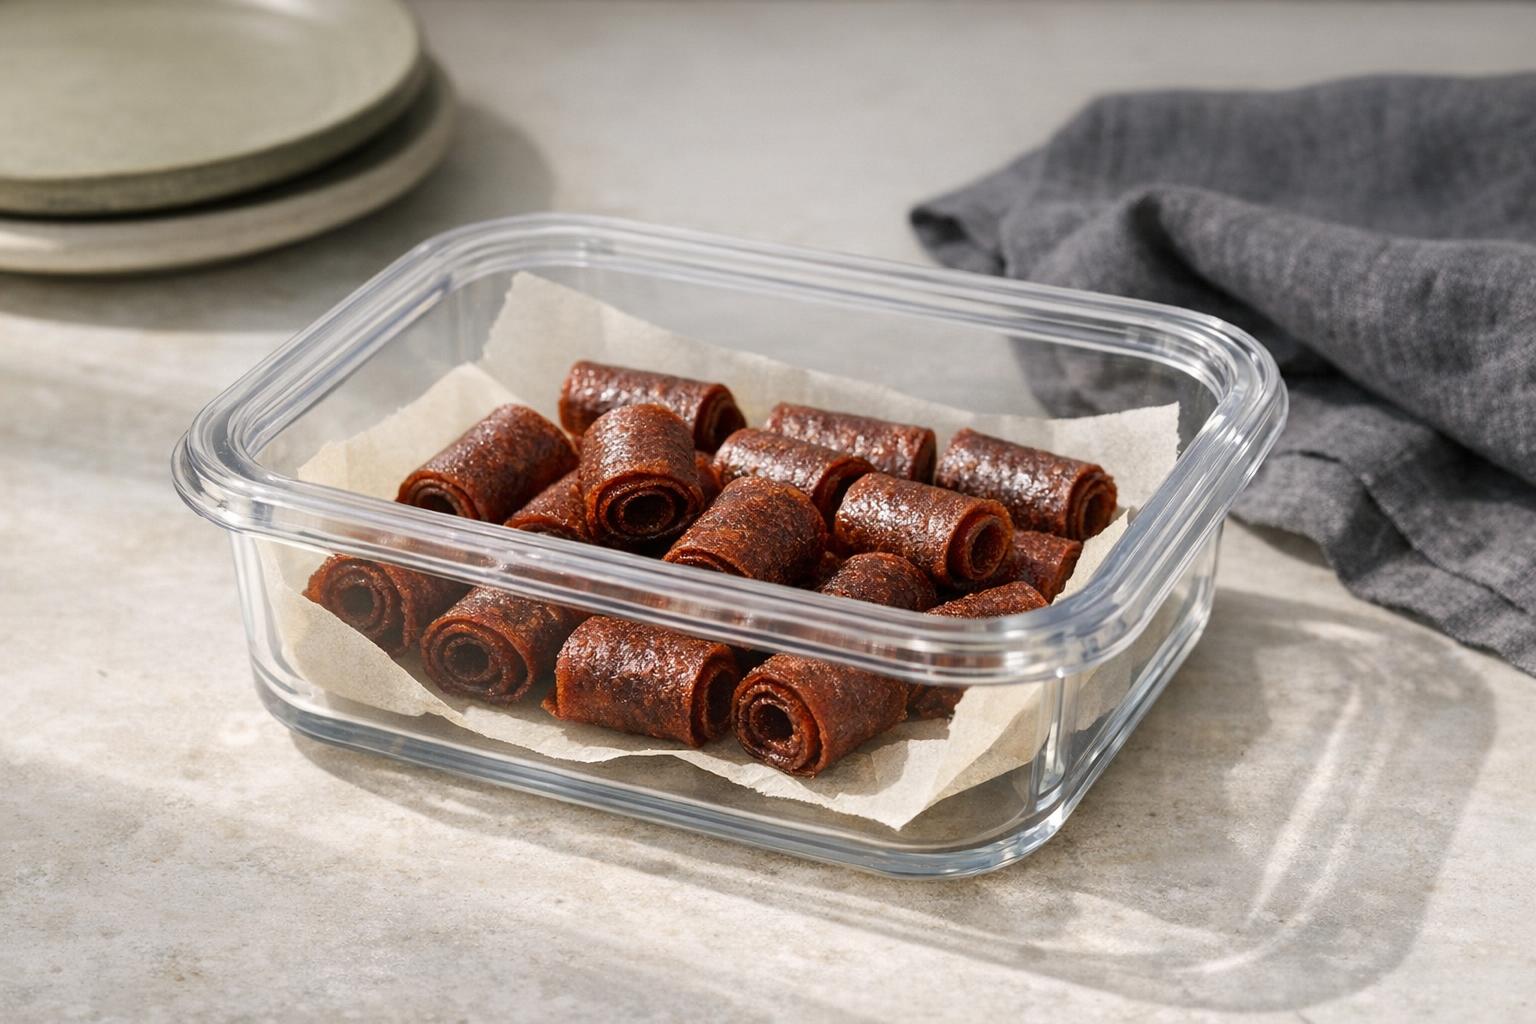
Choose a stable, level preparation area large enough to support the tray and a container of puree. Keep a suitable spreading utensil and a place for drips nearby. Decide how the loaded tray will travel to the dehydrator without tipping. This simple rehearsal is particularly useful for flexible sheets that need the rigid tray underneath them.
Work within the source’s recommended layer and leave the required edges and openings clear. Inspect the sheet from more than one angle before loading; a pool at one end can be easy to miss from directly above. If your kitchen counter is uneven, pouring more puree is not a useful fix. Correct the preparation setup before attempting another tray.
Inspect the center, not only the edge
NCHFP’s method specifies 140°F for fruit leather and notes that drying proceeds from the outer edge toward the center. Its endpoint check focuses on the center rather than the appearance of an already dry rim. Read and follow the full method, including the handling instructions after drying.
Plan to be available for the relevant checks and keep the original source accessible. A timer can support the schedule but cannot tell you whether a thick central patch meets the method’s endpoint. If you repeatedly find an uneven sheet, review your spreading routine and approved layout. The temperature and timing guide explains why an attractive edge or elapsed time cannot stand in for the whole process.
Source: NCHFP: Fruit Leathers.
Keep additions within a clear storage plan
It is tempting to treat fruit leather as a base for any topping. Before adding something, check how it changes the instructions and storage requirements. NCHFP specifically gives separate refrigeration advice for leathers with fillings such as cream cheese. Do not carry over a plain fruit leather’s storage guidance to a filled roll without checking the complete source.
For a first batch, keep the mixture straightforward and label any additions clearly. This also makes it easier for household members to identify ingredients. Make portioning and wrapping decisions before the batch finishes so the food does not sit while you look for supplies. A colorful finished roll is not evidence of a validated storage period.
Source: NCHFP: Fruit Leathers.
Learn from the sheet without inventing a product test
After following the method, note the practical result: whether pouring was manageable, whether the approved liner released as described and whether the portions suited your household. These are observations about your session. They are not a measured comparison of appliance uniformity, energy efficiency or shelf life.
If you want to repeat the batch, retain the ingredient amounts, source URL, appliance model and liner identifier with your notes.
- For a larger batch, change the quantity only within the equipment and method limits.
- Read our storage organization guide before combining several sessions into a pantry supply.
- A clear label and a repeatable preparation routine are more useful than an unsupported promise that every roll will keep for the same length of time.
For measured batch-space planning, use the tray layout estimator. Its result is a space estimate only, not a processing time or safety approval.
| Section | Key point |
|---|---|
| Choose a simple mixture and read the method | Read the preparation steps before shopping for ingredients. |
| Confirm that the solid sheet is appropriate | Read both the appliance and accessory instructions. |
| Arrange the counter before you pour | Correct the preparation setup before attempting another tray. |
| Keep additions within a clear storage plan | This also makes it easier for household members to identify ingredients. |
| Learn from the sheet without inventing a product test | These are observations about your session. |